
How to setup Google Analytics 4 (GA4) in Shopify
It is here! The update we have all been waiting for has finally started to rollout to merchants. Merchants are now able to start using Google Analytics 4 or GA4 on their Shopify website.


The update we have all been waiting for has finally started to rollout to merchants. Merchants are now able to start using Google Analytics 4 or GA4 on their Shopify website. The installation is super simple, but we will quickly walk you though it.
Part 1: Setup the Google Channel
Skip to part 2 where the installation of Google Analytics 4 (GA4) is explained.
You can scroll down to "Part 2"" if you have already installed the Google channel on your Shopify website.
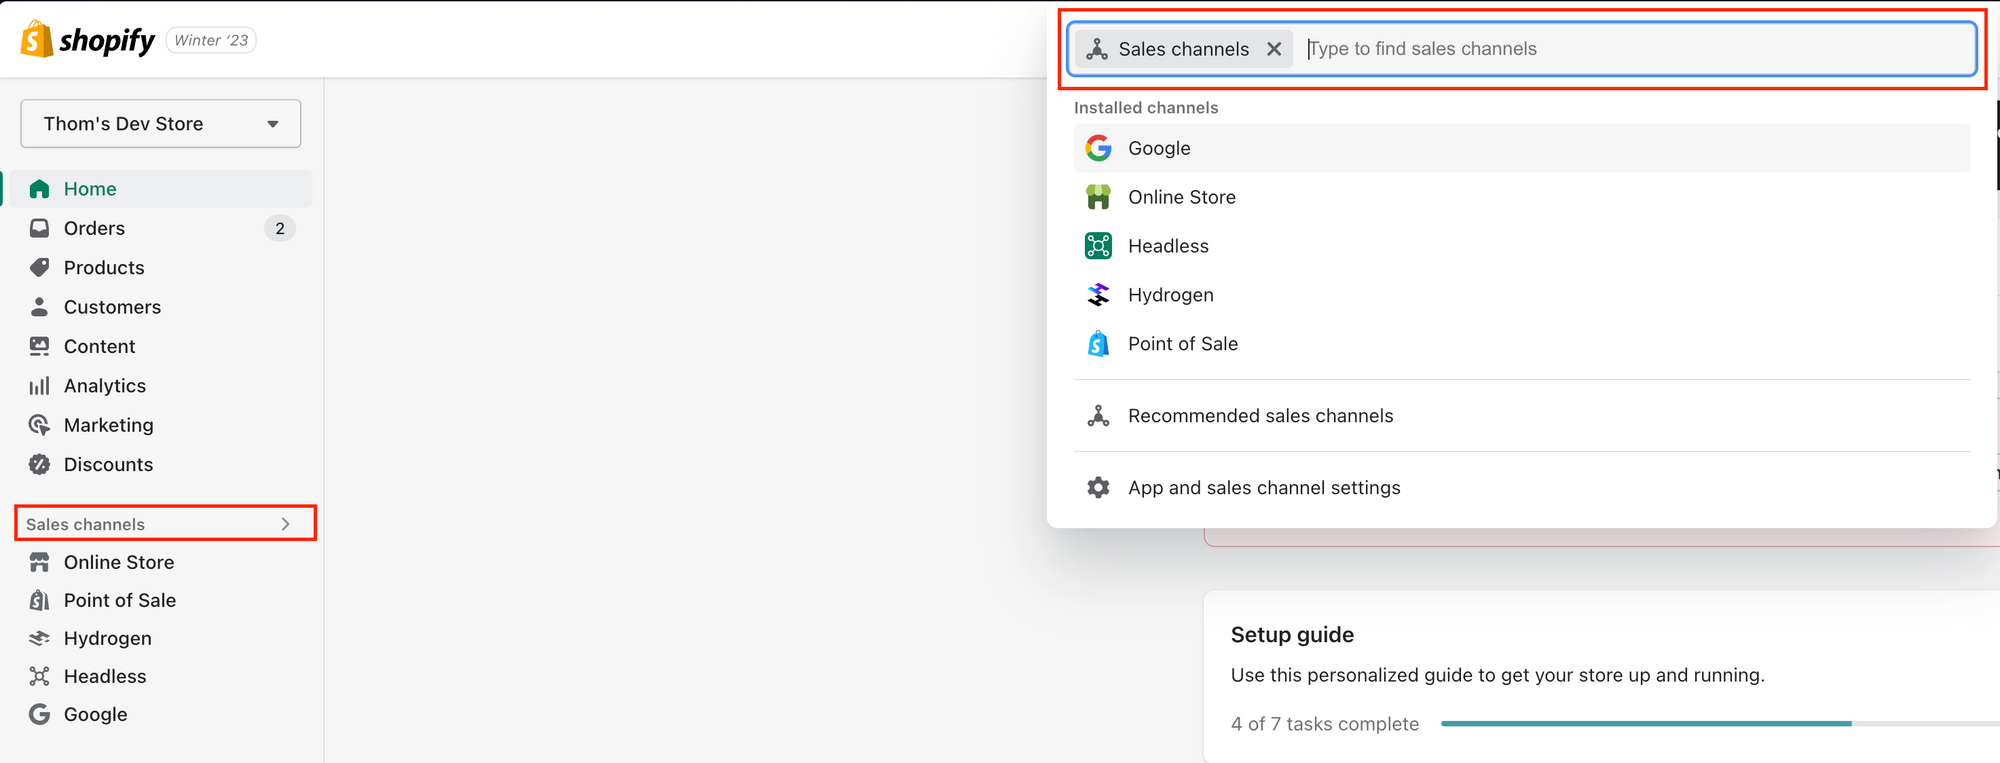
Step 1: Install the Google sales channel
In order for GA4 to properly be installed on your website, you will need to have the Google sales channel installed. You can simply do this by clicking on "Sales channels" in the left sidebar and search for "Google" in the pop-up.
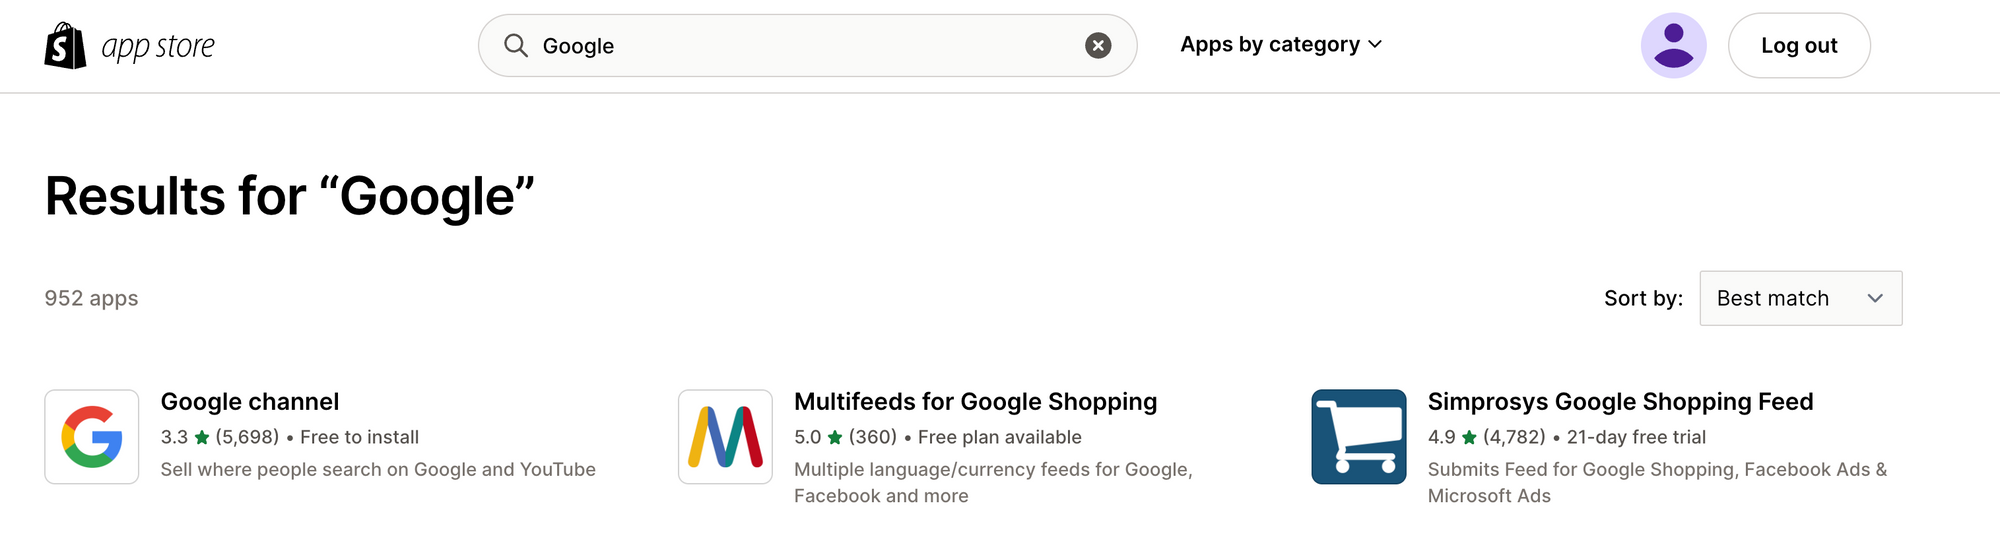
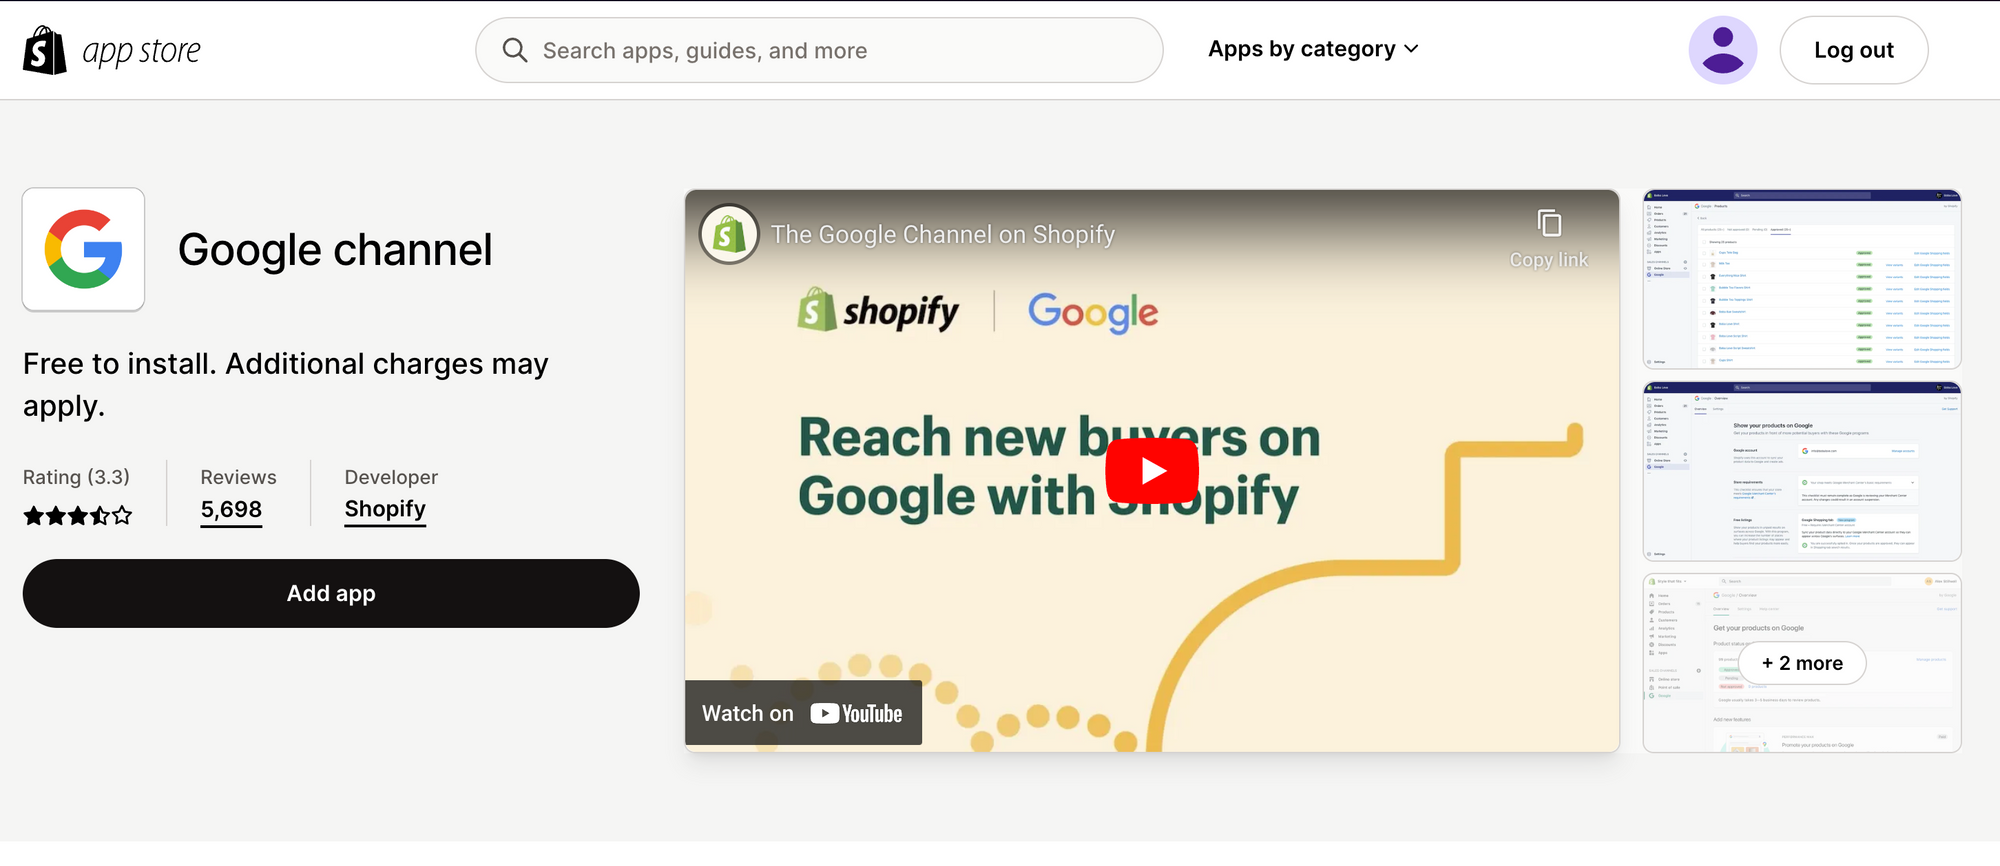
This search will lead you to the Shopify App Store. Click on the "Google channel" app and click on "Add app".
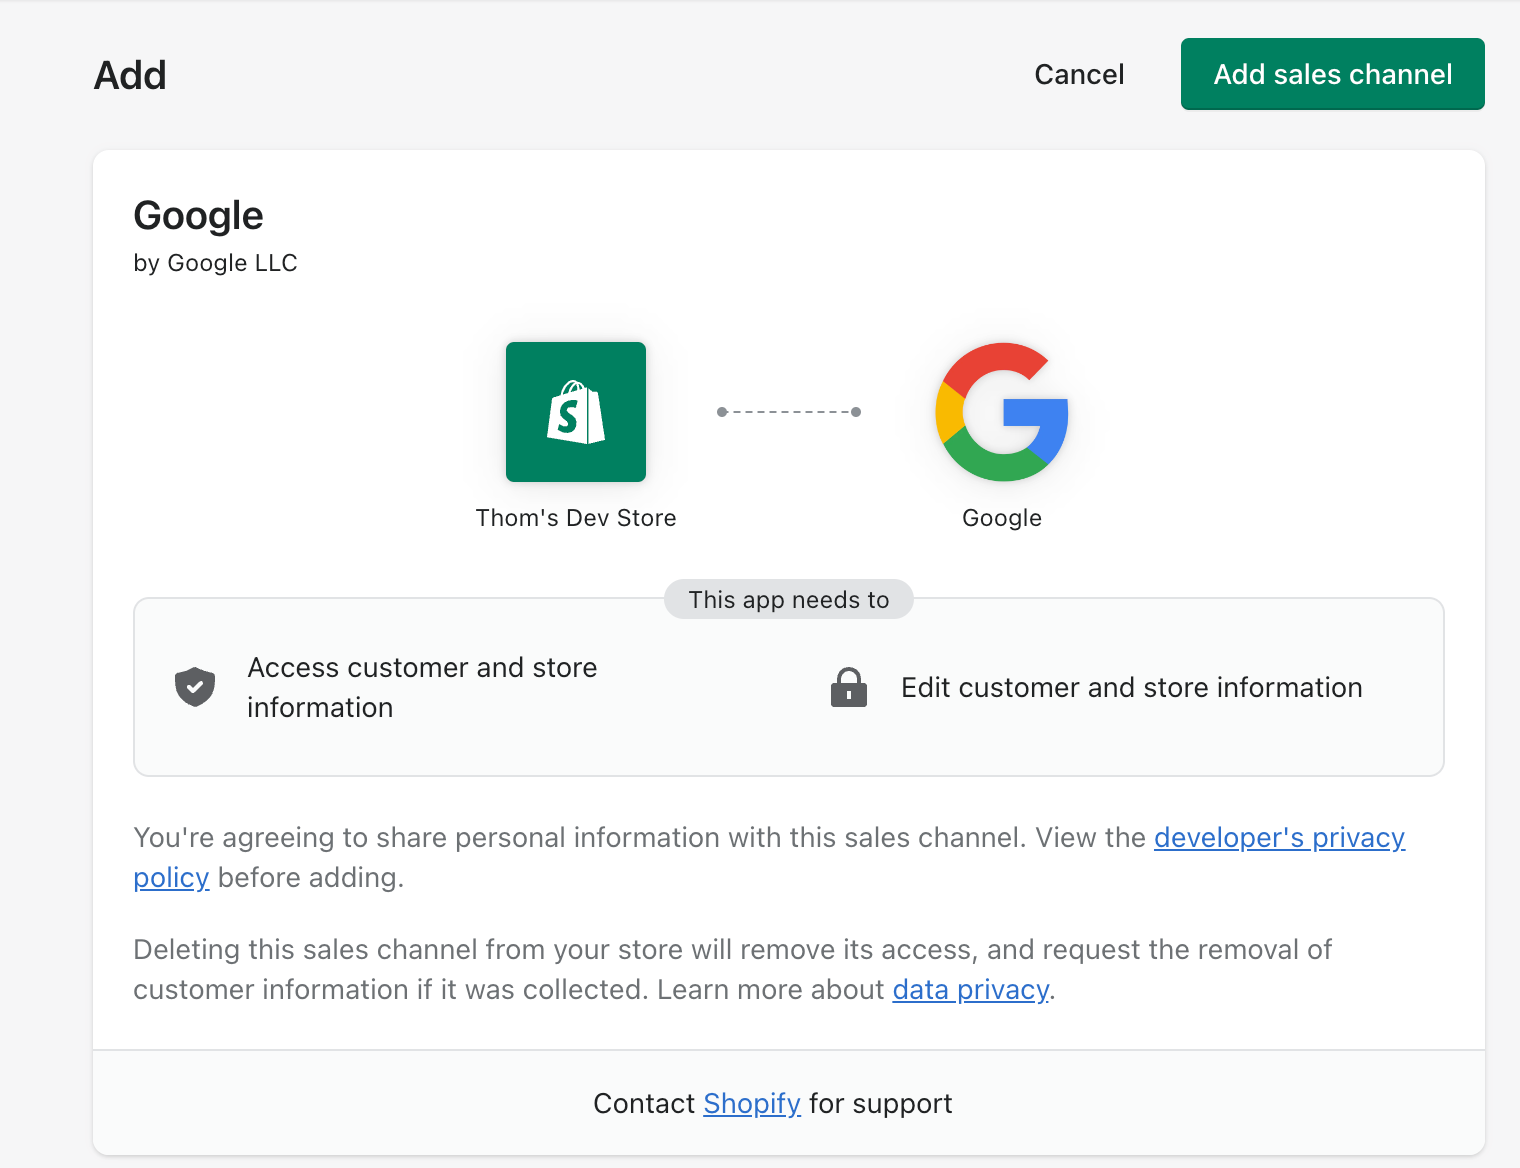
You will be redirected to your own store, and you can click on the green "Add sales channel" button to complete the installation of the Google app.
Step 2: Login with your Google account
For this step it is important you use the Google account that has Google Analytics and Google Ads running for your website.
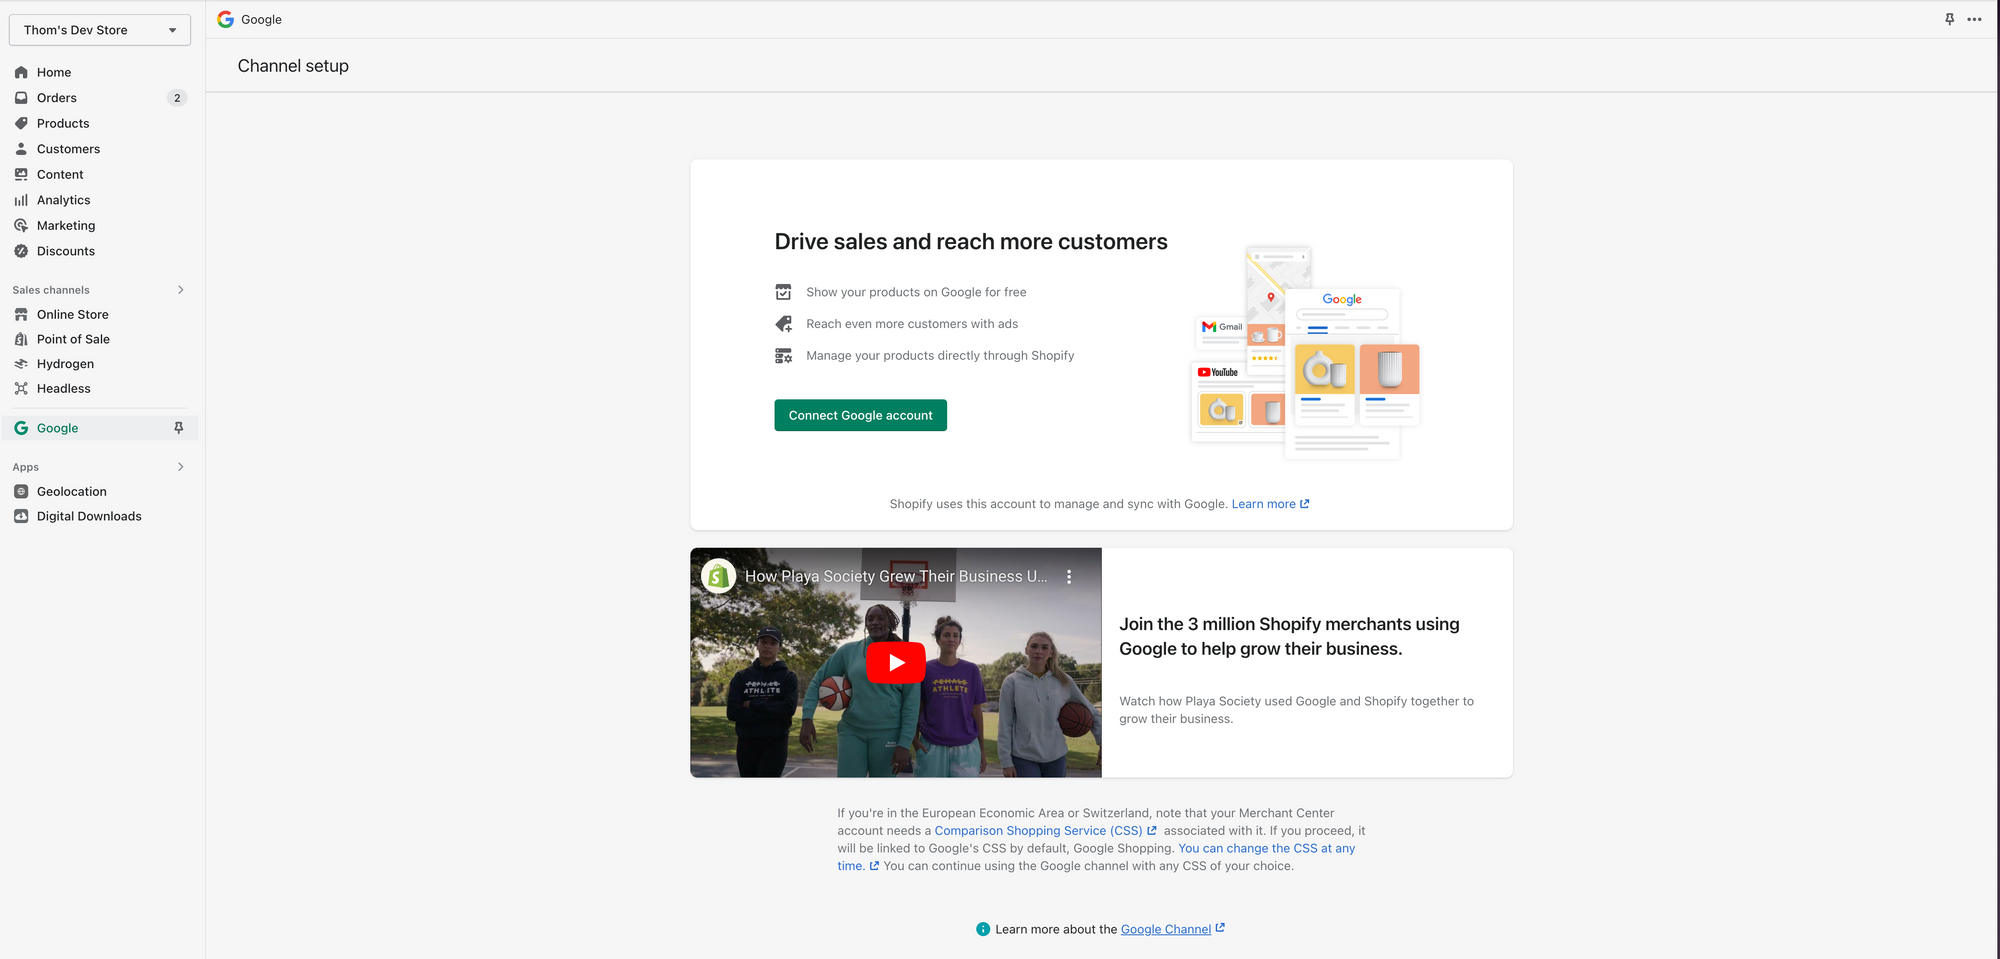
When you click on the "Connect Google account" button a pop-up will show you either a couple of accounts that you have logged in with in the browser you are using, or a login form you are used to from Google. As I am logged in, my normal email address will show.

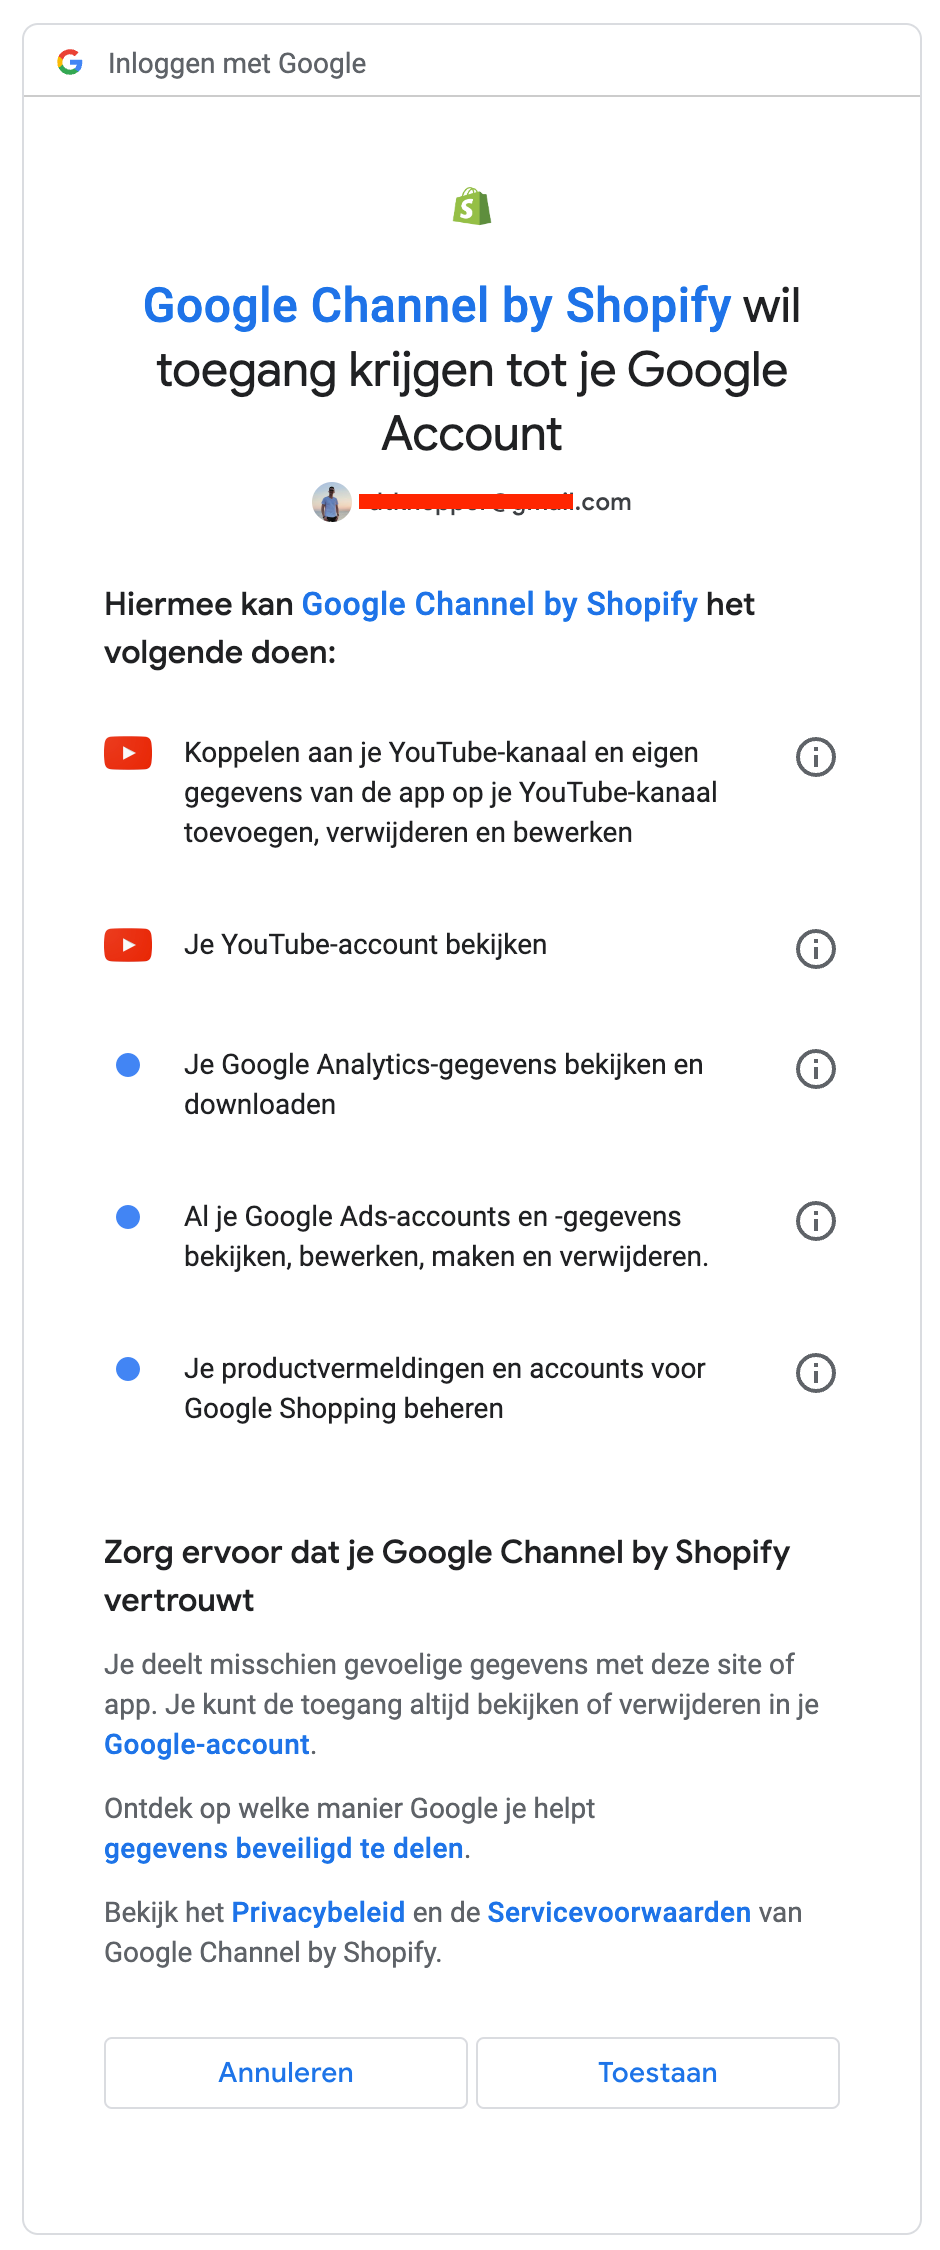
Next you will need to accept all the access the Google Channel will get on your account.
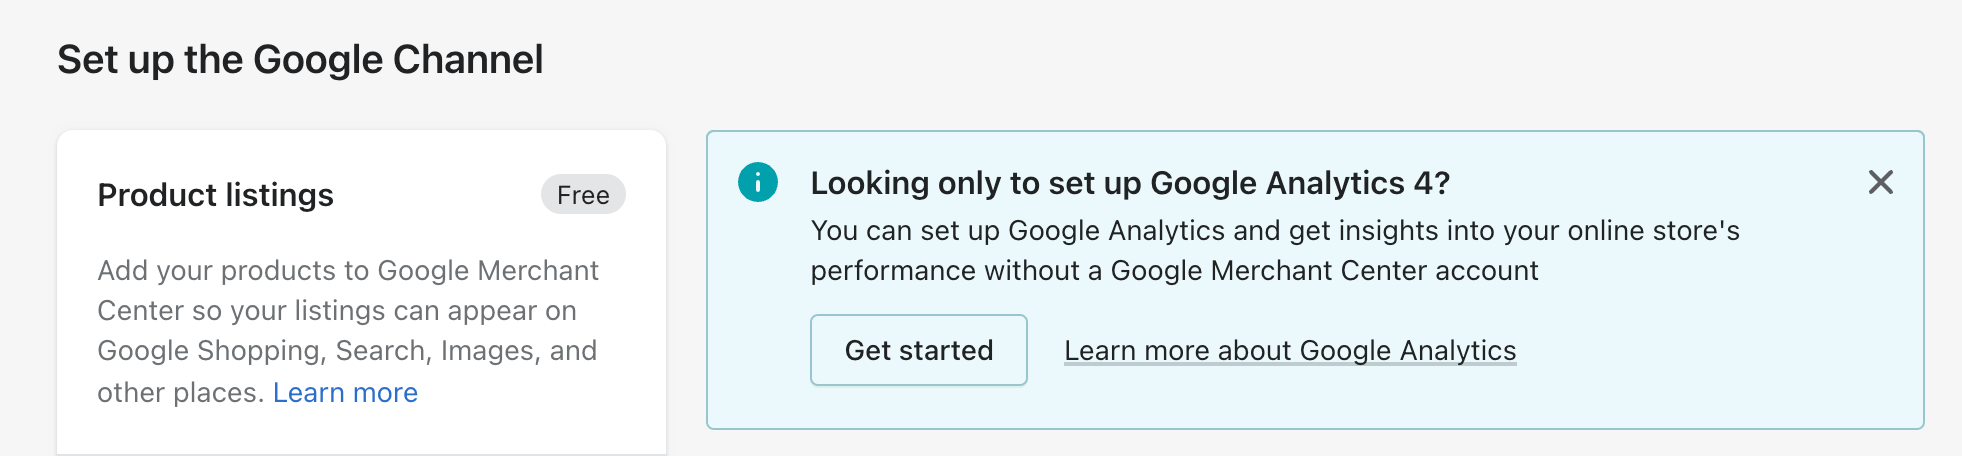
After you have logged in, you will need to setup the Google Channel properly, or you can skip the Google Merchant part, and go directly to the Google Analytics 4 setup by clicking on the "Get started" button.
Part 2: Setup & Google Analytics 4
Step 1: Create a Google Analytics 4 property
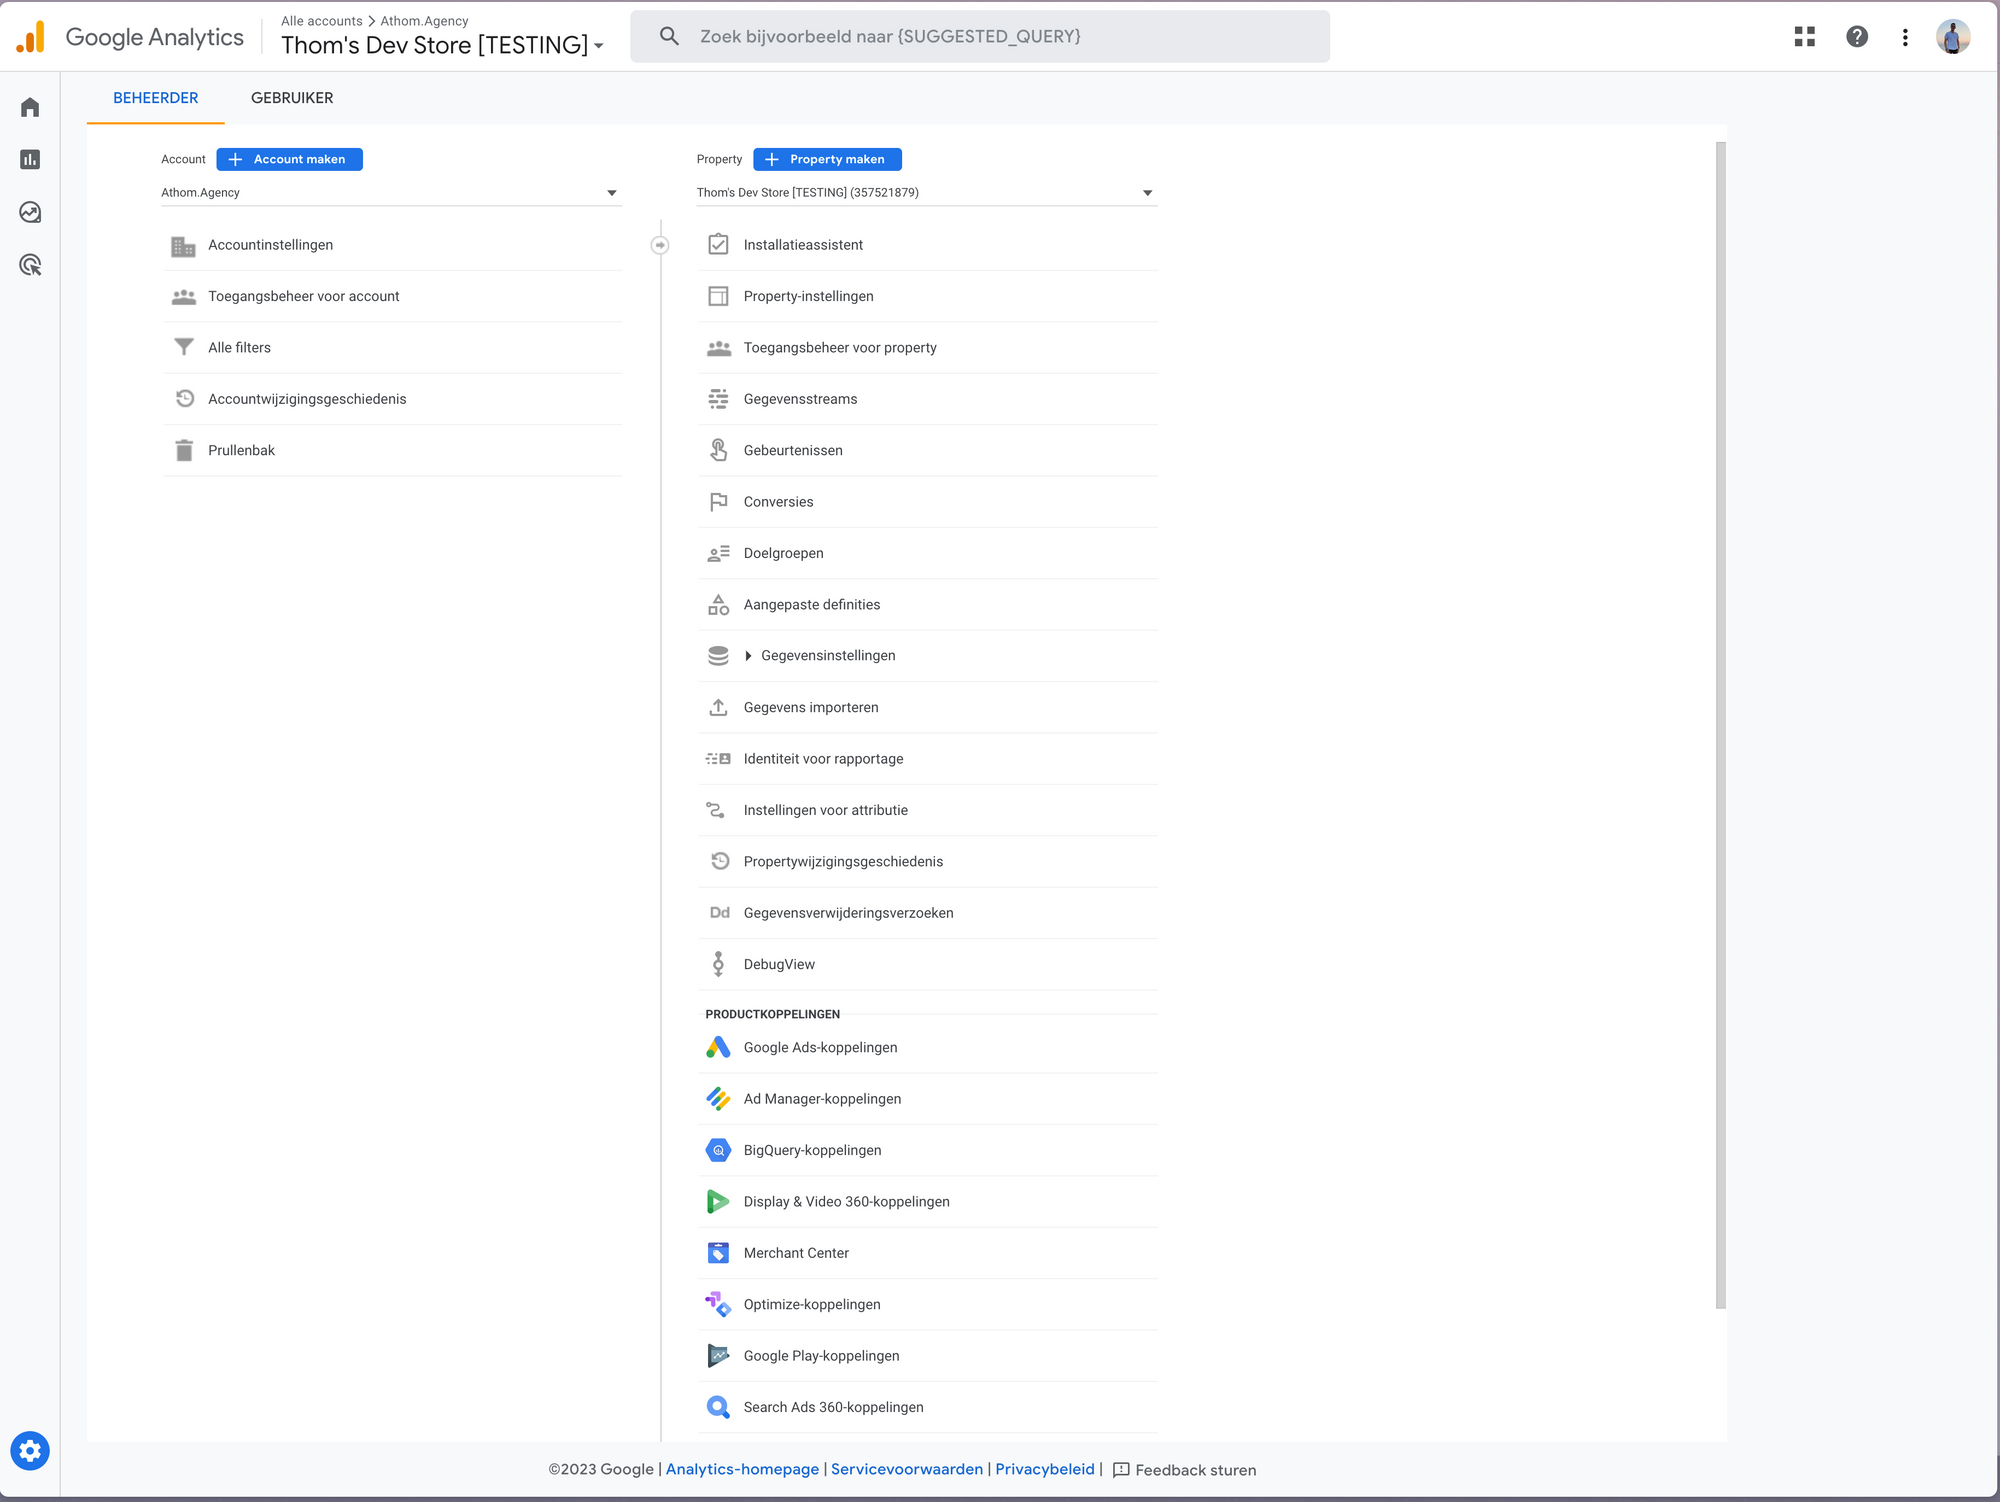
Go to analytics.google.com and login into your existing account, or create one from scratch. If you already have created a account, all you have to do is go to you "Admin" section and at the top of the second column, click on the "+ Create property" button.
Here you can setup the property how you would like. The variables of how you setup your property are so different from each brand/company that we will not walk though the specifics.
Step 2: link your property
After you have clicked on the "Get started" button, from the first part of this tutorial, you will be able to select the GA4 property you would like to use for your website.
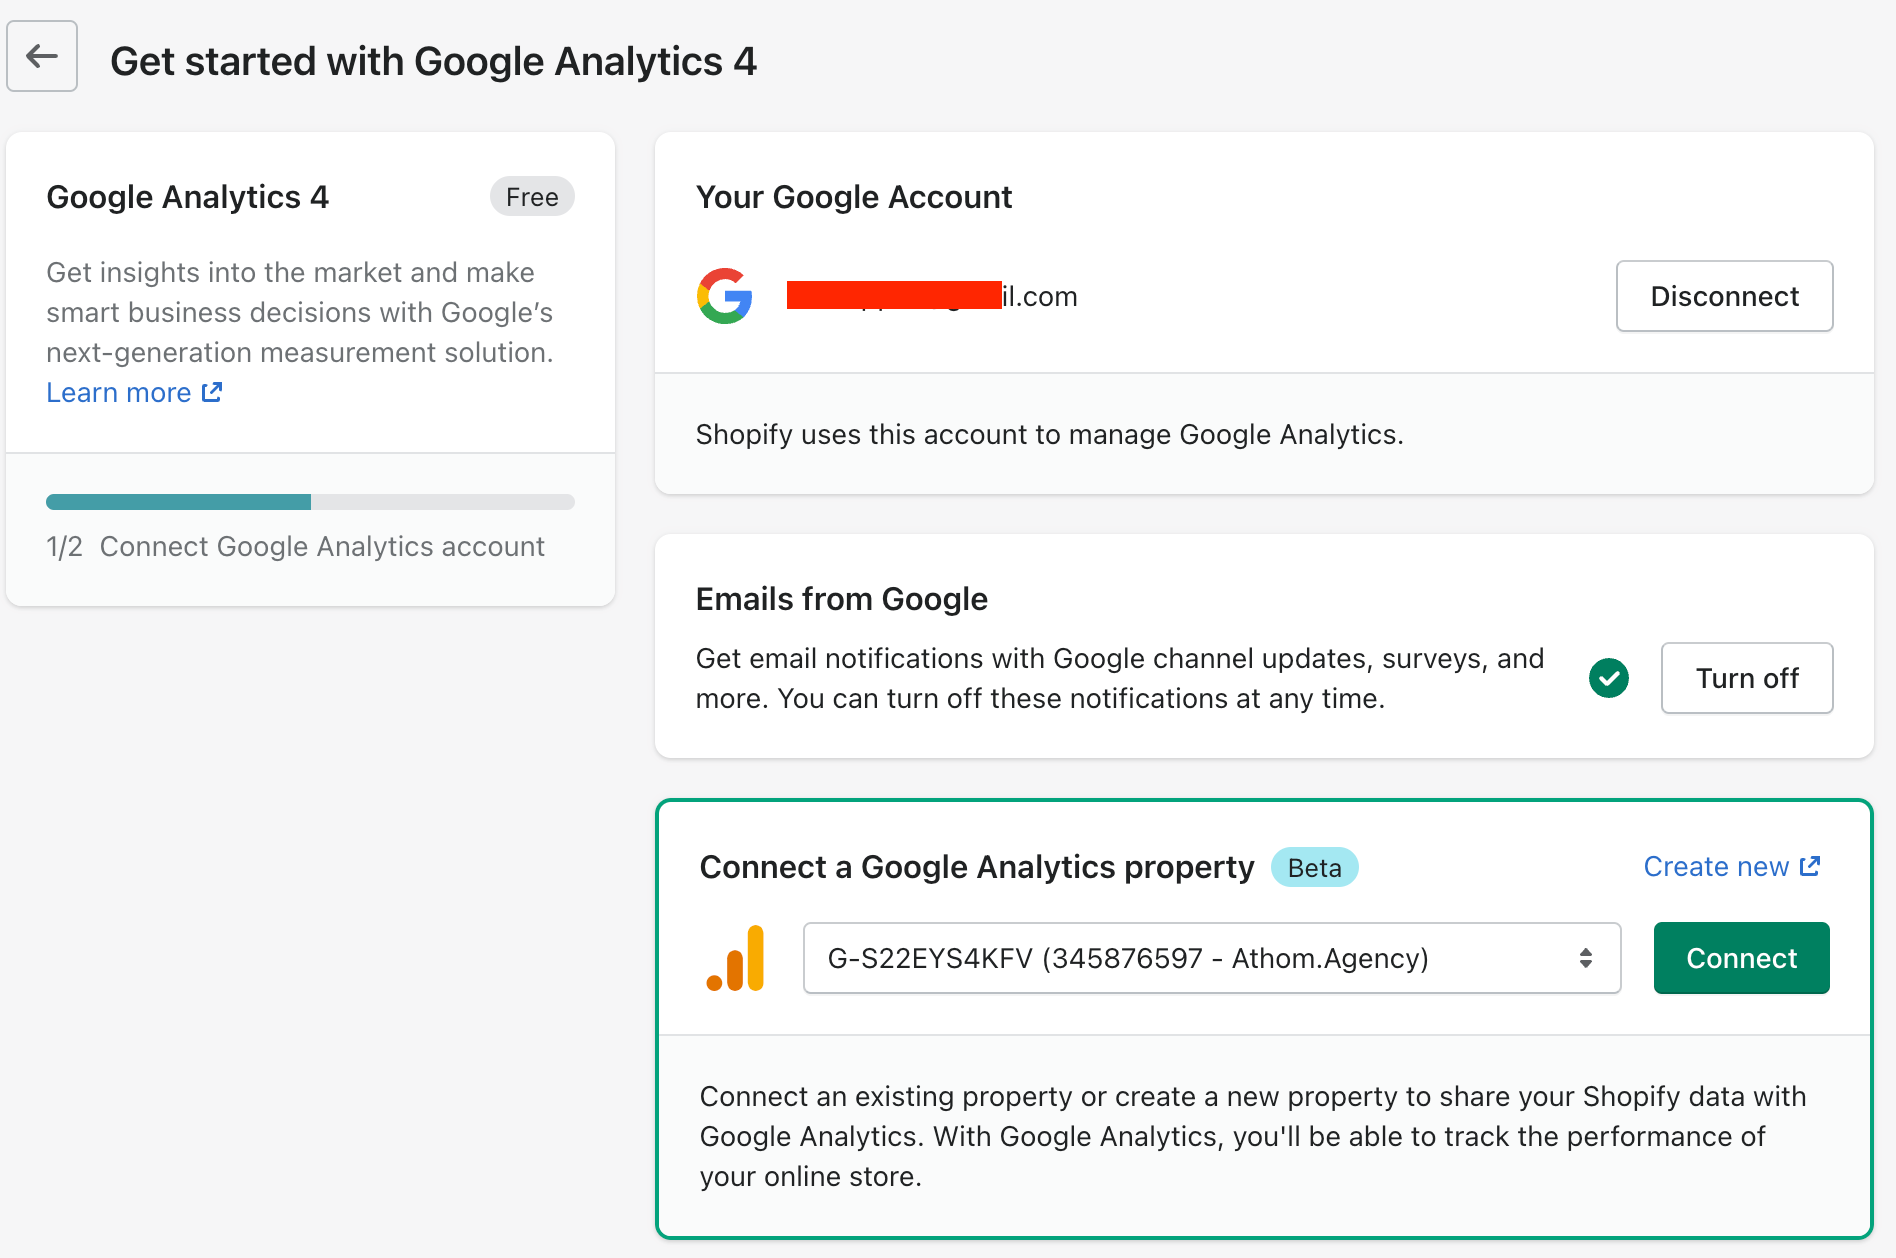
After you have selected the property you would like to use, simply click on "Connect" and you are done.
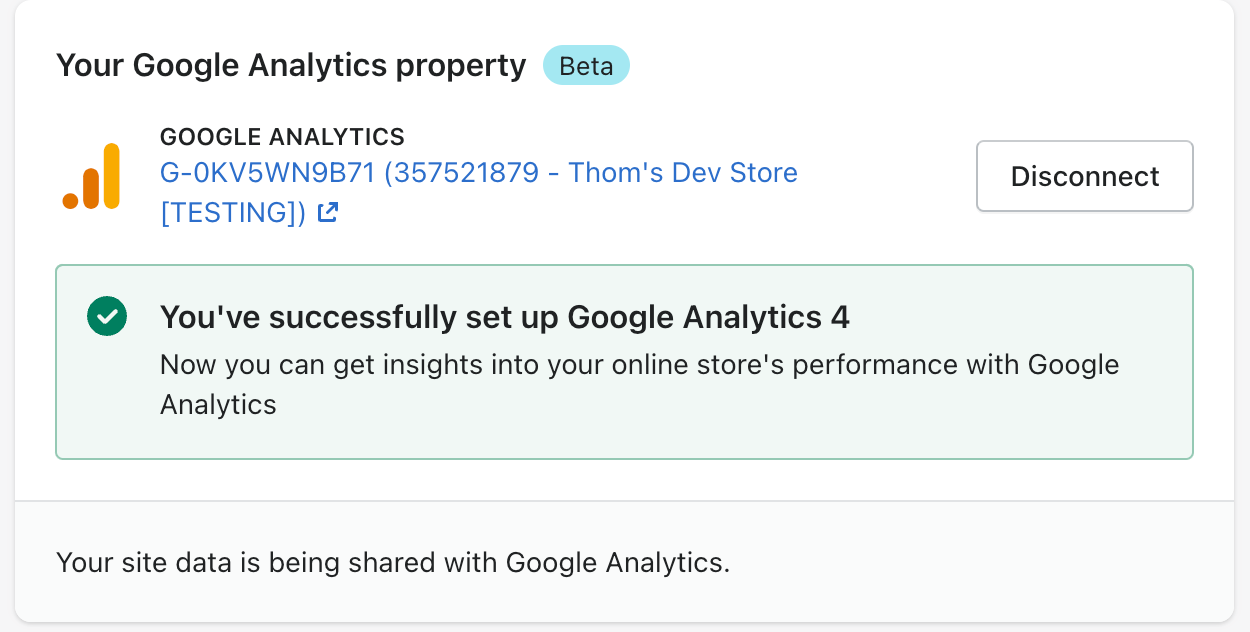
Congrats! You have now installed your Google Analytics 4 property on your website! Please do keep in mind that best practice is to keep your Universal Analytics running till it stops processing data. As you have to start from zero with Google Analytics 4, the old data in Universal Analytics will still be very useful.
Thanks for reading, if you have any questions, feel free to let me know!