
How to send free product specific 'back in stock' emails in Shopify

We've all seen them. Those productpages where you can sign up to stay notified when a product comes back in stock. It always looks super fancy and you might be wondering how they did that. Of course there are a ton of "out of stock" apps that will fix this for you, but you will have to pay for them as well. Today we will check out a easy and free way with apps that are 100% build by Shopify.
Why would you even use this?
When you have a e-commerce website, your main goal is to sell products. Of course sometimes it happens that products are either out of stock or not yet in stock. This is a hard situation because at this moment you will actively lose sales because people can not buy your product at that moment.
At this moment you will want to grab some data of your customers to make sure you can directly contact them the moment your product comes (back) in stock. This to make sure that you can send them a direct email the moment a product comes back in stock. Since email marketing is still one of the most effective ways of direct marketing, this will guarantee you that conversion will happen from this email.
Now, you can simply do this by putting an email sign-up form on your product page. The question is, how will you know which user signed up to be informed on which product? With a normal email sign-up form this is impossible.
Lets check the solution on how to properly set this up, so that your sales will keep striving!
Metafields + Shopify Forms
A match made in heaven
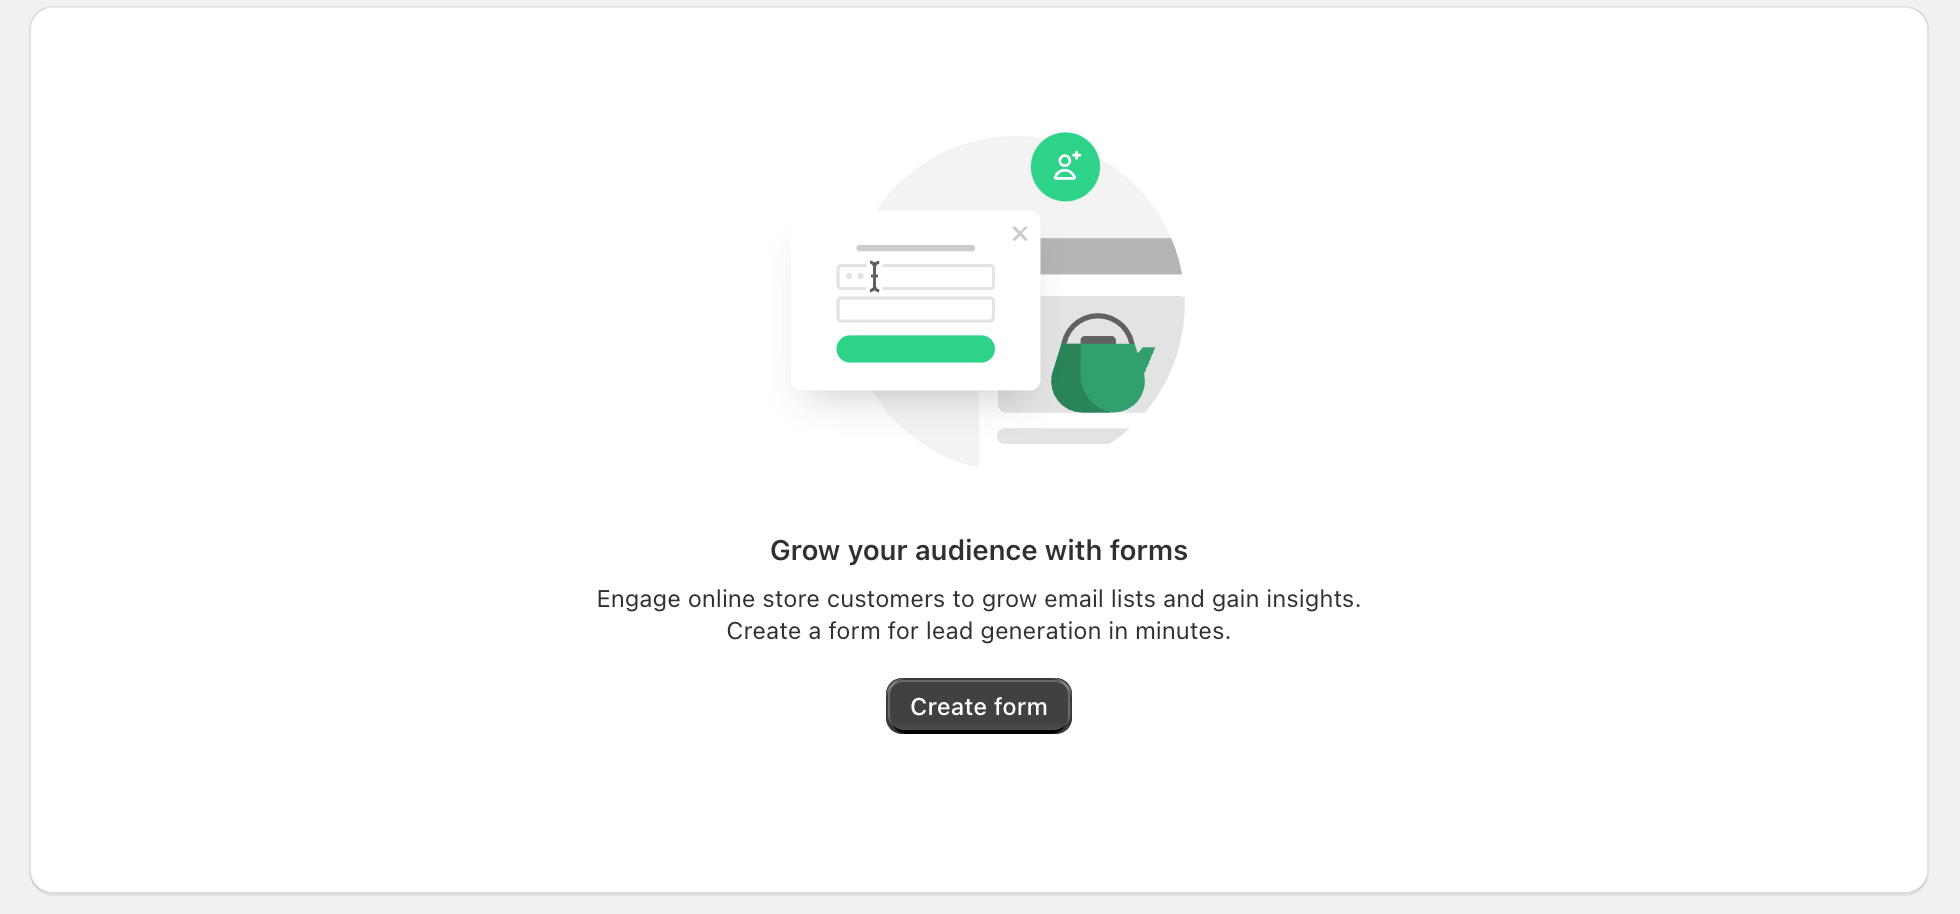
Installing Shopify Forms and creating your first form
Install Shopify Forms
Metafields and Shopify Forms, the combination of these two are the key to make this work without any coding so anyone will be able to set this up! Let's get started by installing the Shopify Forms app on our Shopify Store:
After installing, and accepting the list of permissions you will see a new screen in front of you with a button 'Create from'.
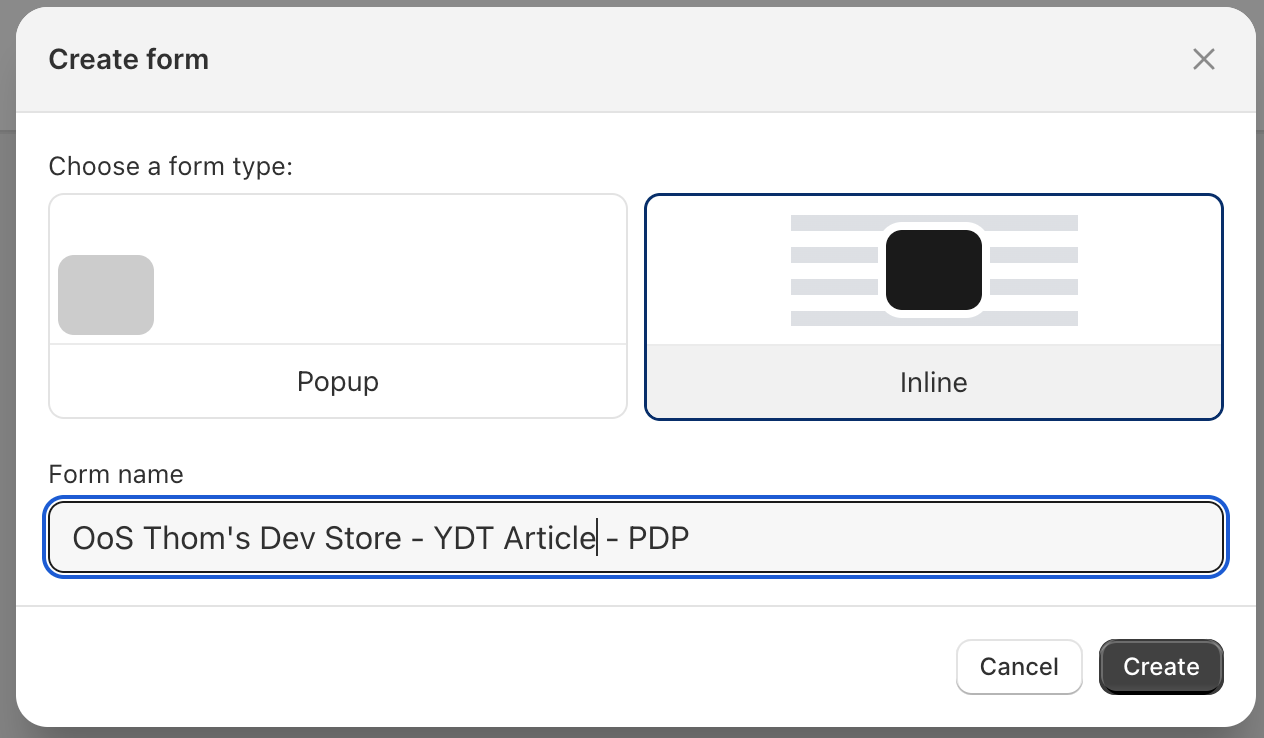
Create a form
We will click on this button and we're going to start creating our "out of stock" from. When creating a title for your form, make sure to put some keywords in the title that will make it easy for you to remember which form is for which product. I would recommend something like: 'OoS brand name - product name - PDP' to make sure that all the data is in the title. Also, make sure you choose the option of 'inline' when creating your form.
After this, fill in all the necessary fields!
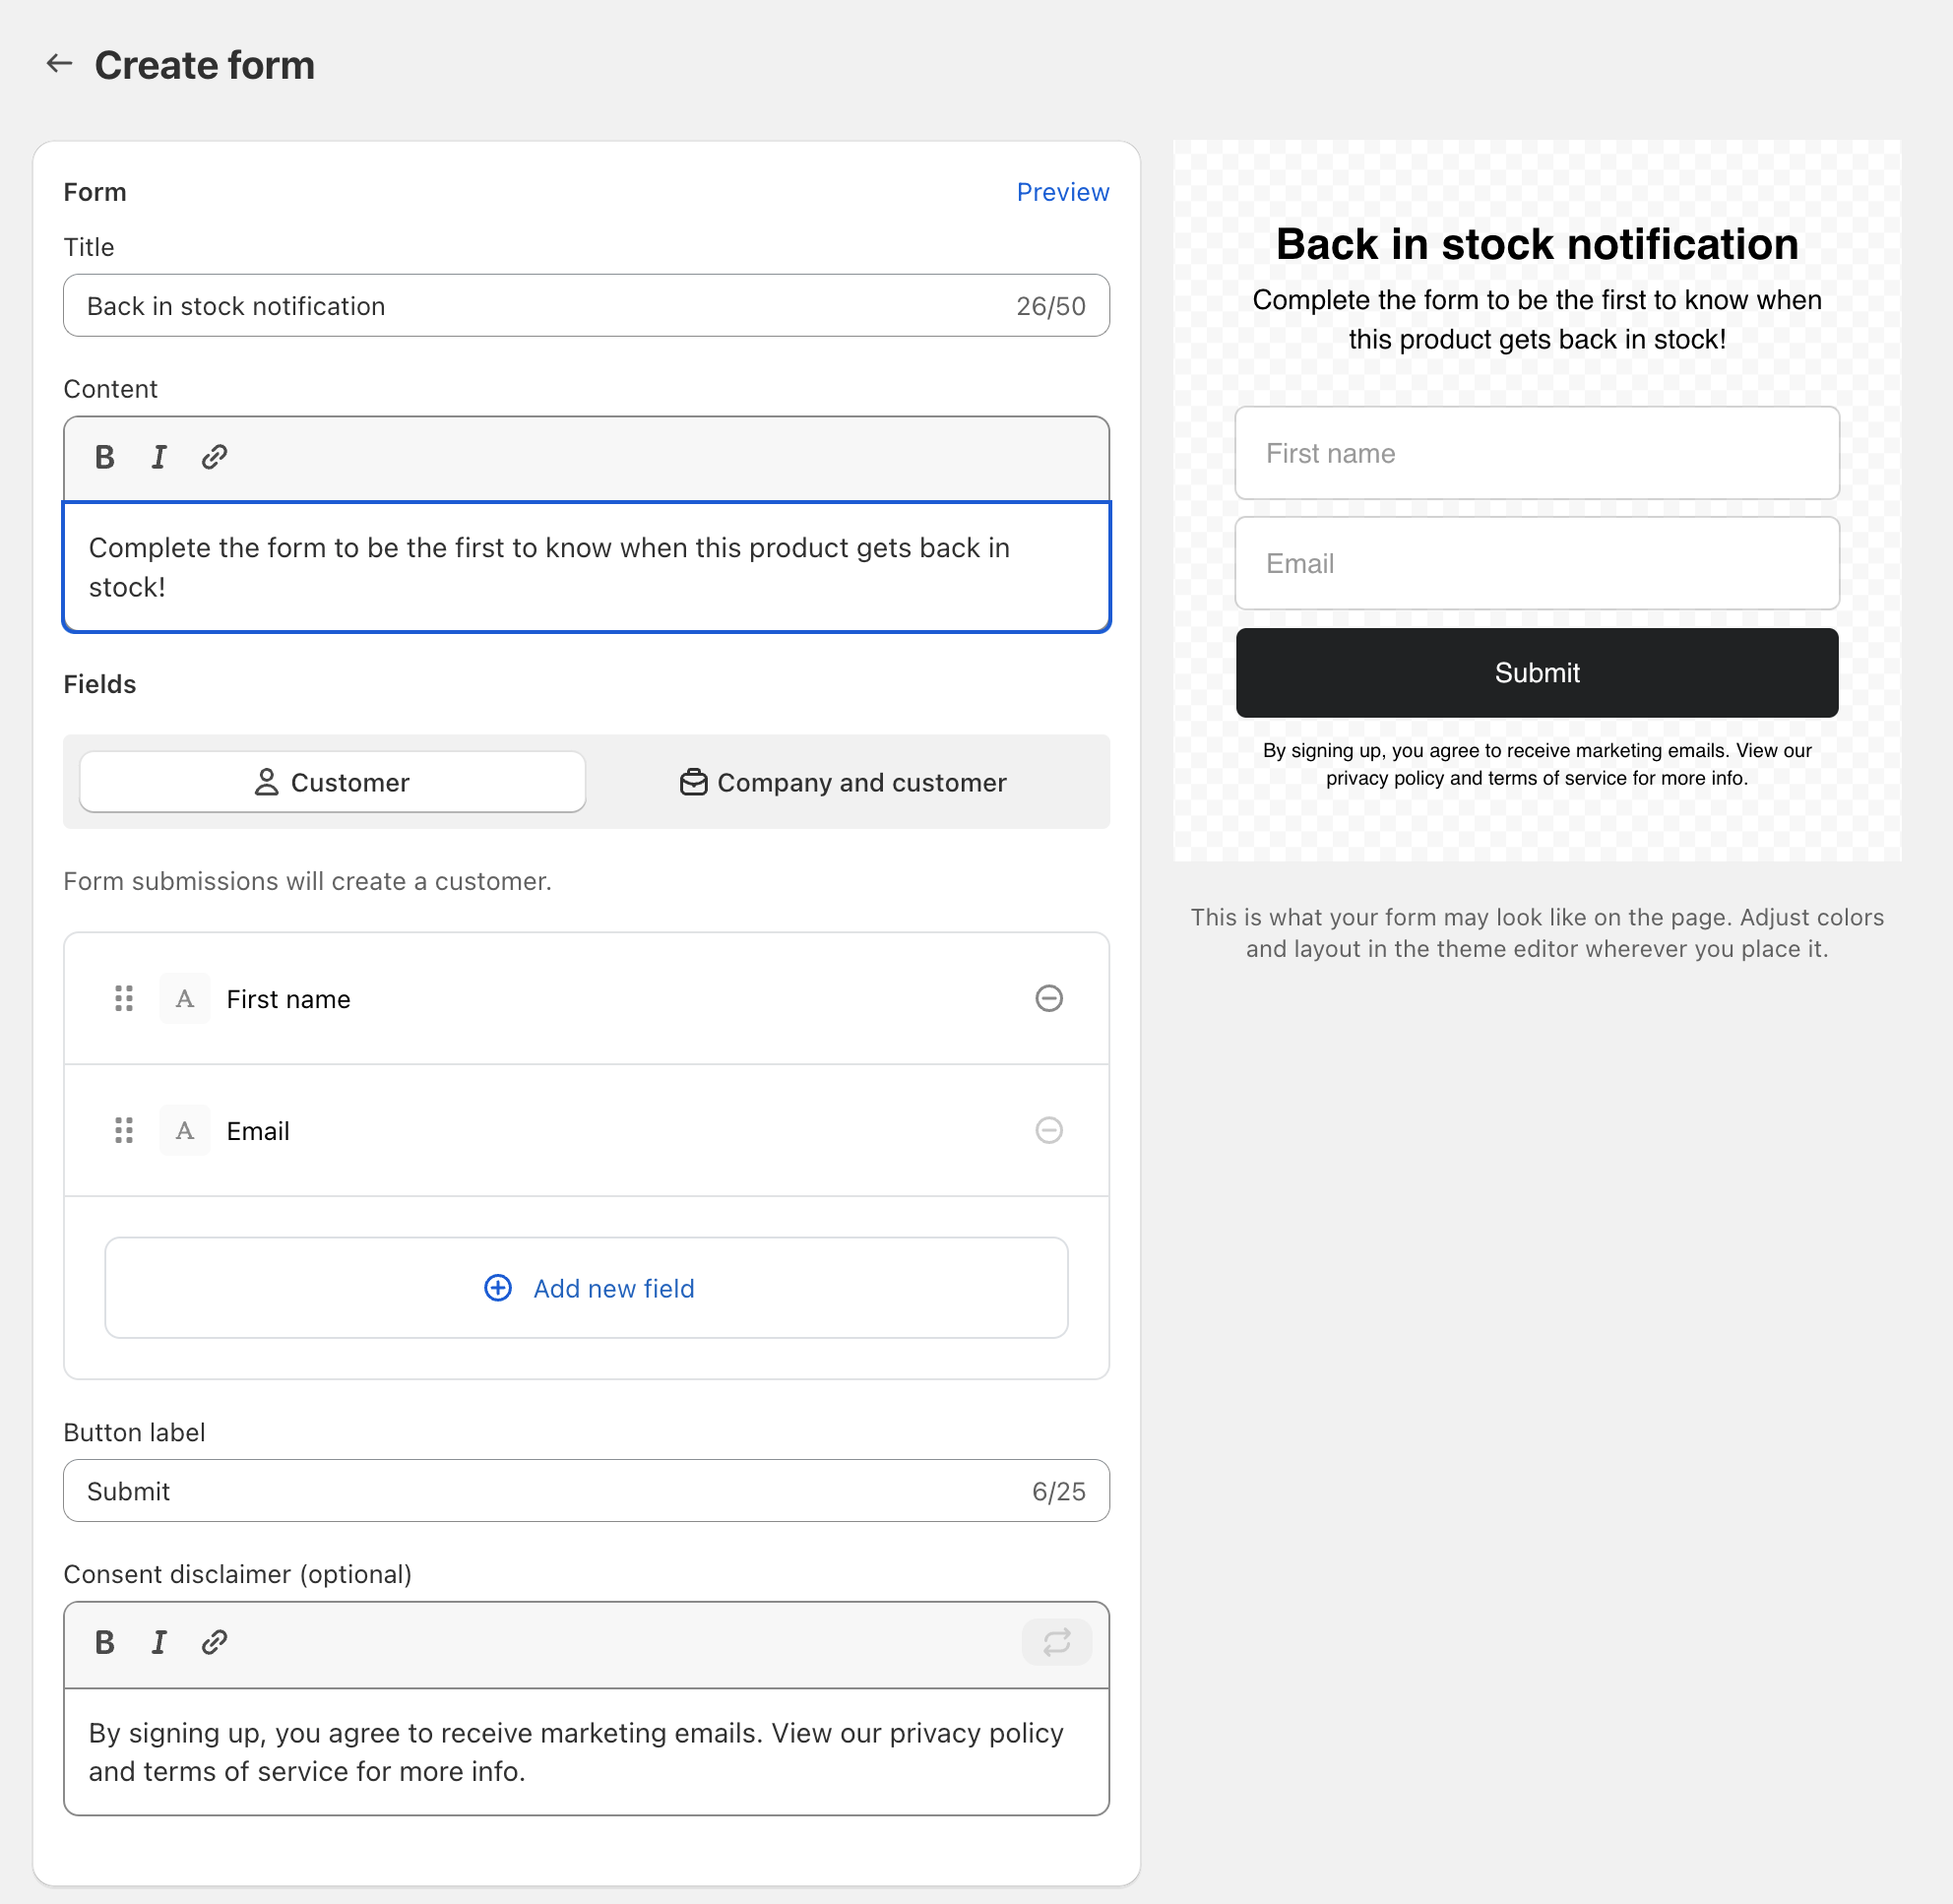
When you scroll down, there will be a option to automatically tag customers with a certain tag once signing up via this form. Use a tag here that you can easily remember, and is not too long. The tag format I would choose is something like: 'OoS Notification SKU'.
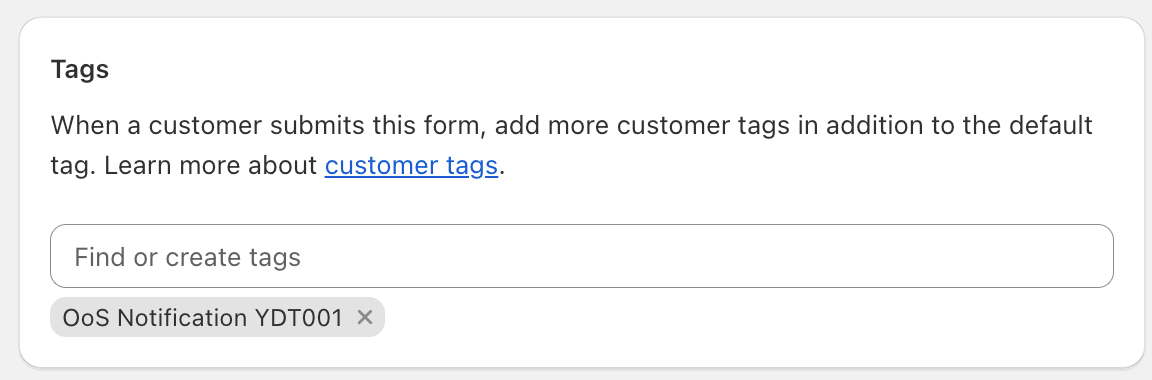
The option below the tag input field is the one that is going to be part of the magic. The FormID box will generate a unique code for this single form. Lets safe this form and come back to check out the code later. We do not need it yet.
Create a metafield
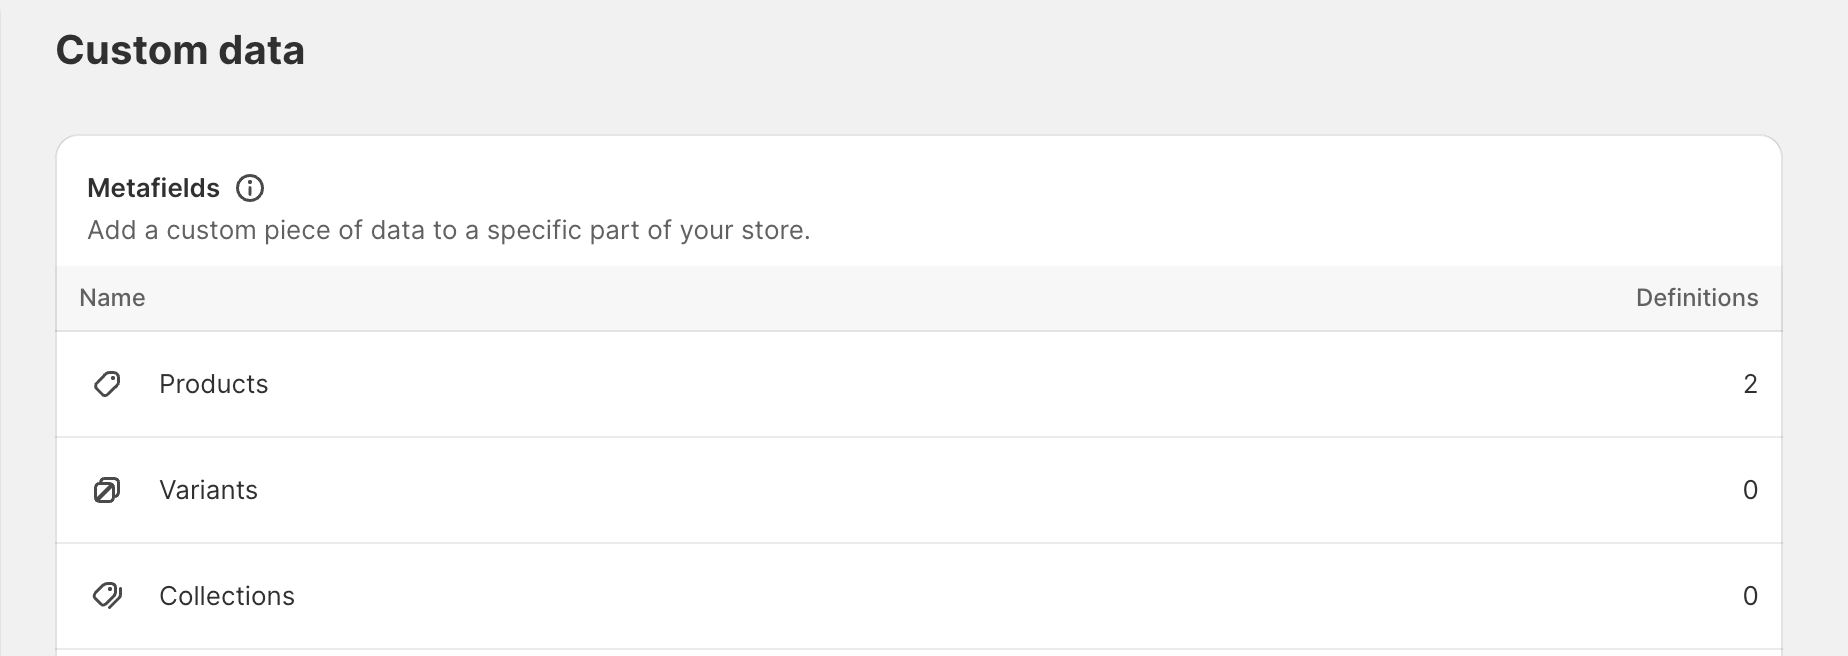
Up next is creating a metafield for products. Go all the way to the bottom left of your screen and click on 'Settings'.
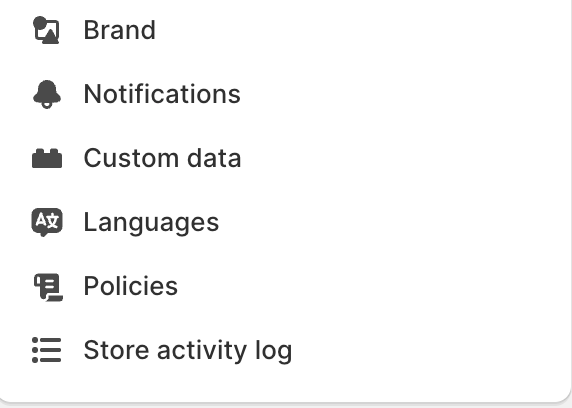
The settings pop-up will open and you will see a lot of options on the left hand side. The option 4th from the bottom called 'Custom data' is the one we are looking for.
You will see the overview of all the things you can create metafields for, and with the updates Shopify has been pushing out, this is almost every single part of your store nowadays. For now we are going to click on the first option for 'Products'.
And then again in the top right corner we will click on 'Add definition'. This will bring is to the next screen to actually create the metafield.

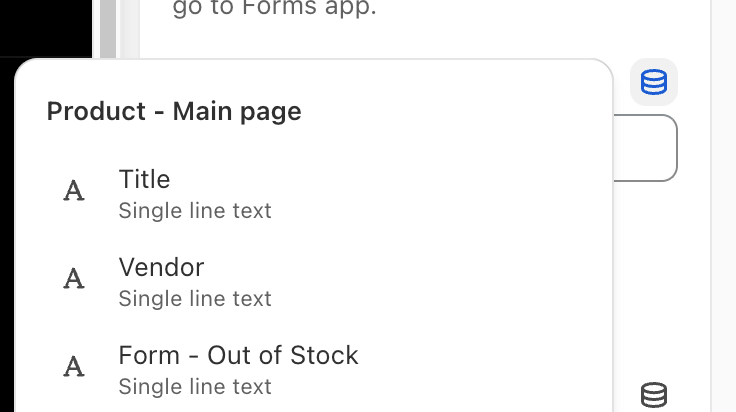
When filling in the metafield data, please remember that you can not rename your 'Namespace and key' but can change your 'Name'. Make sure the namespace is going to be something you can remember and will not confuse with anything else.
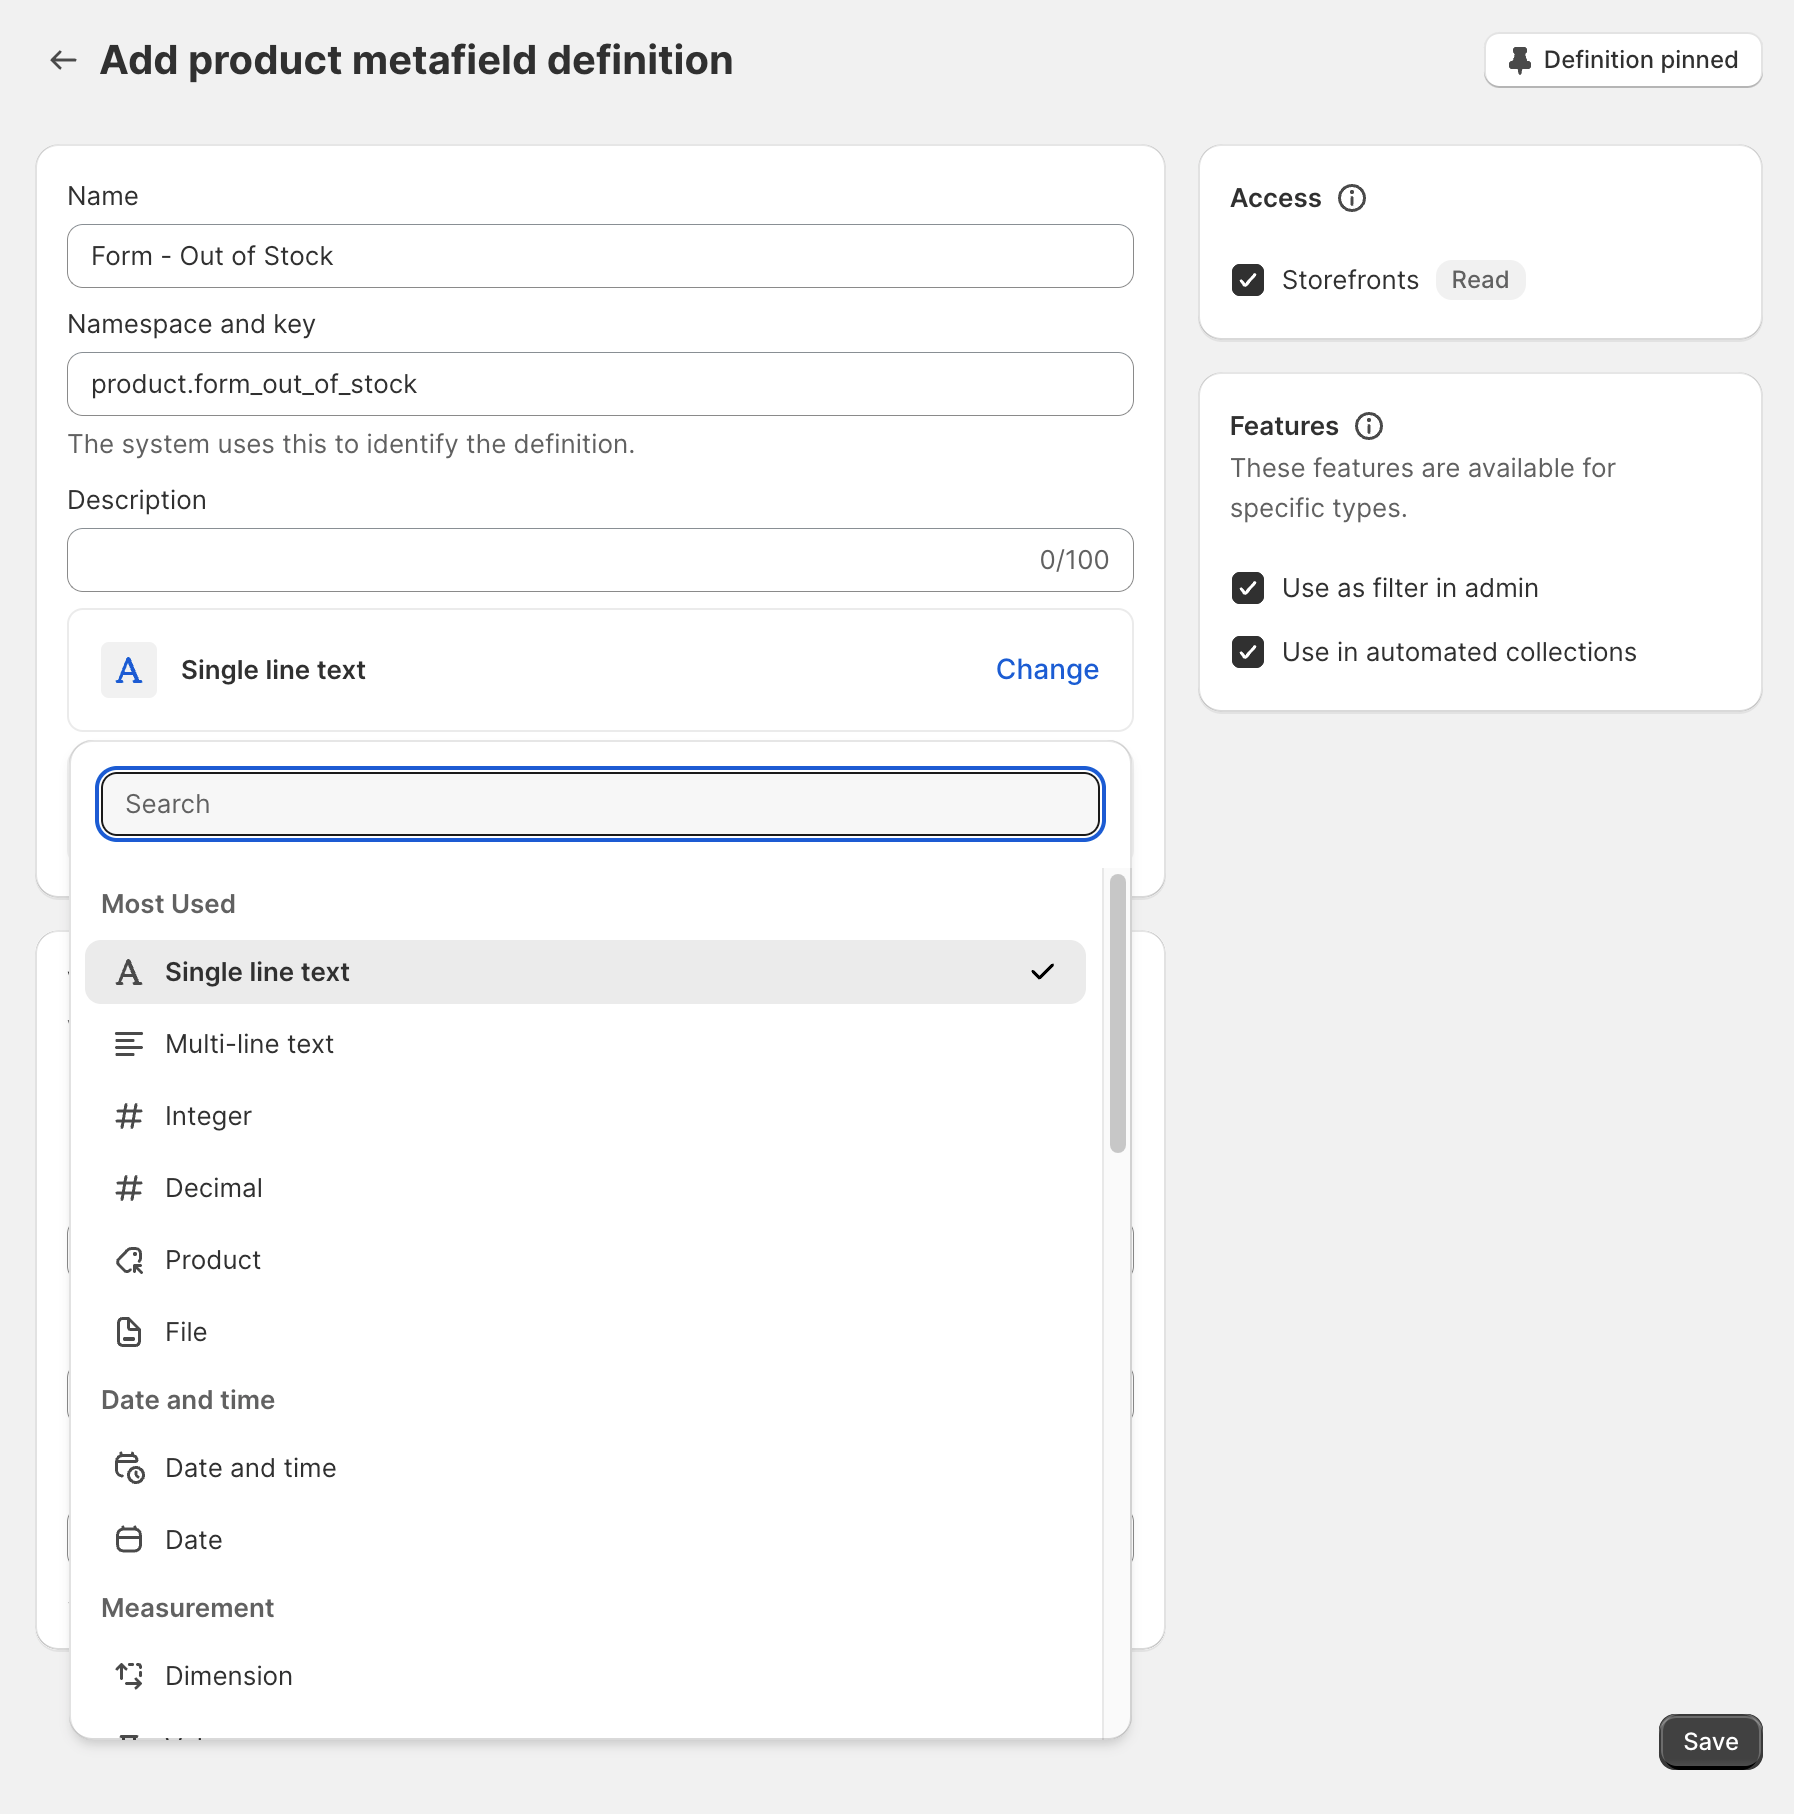
When selecting a type, make sure you select the 'Single line text'. Also, this metafield will only contain one value and not multiple. You are now ready to save your metafield.
Edit a product page template
Next up is to edit our product page template. Go to the Theme Customiser and in the top select your product page. Here you will see the product page you are familiar with. On this product page, add a new 'APP BLOCK' for the 'Forms' app in the 'Product information' section.
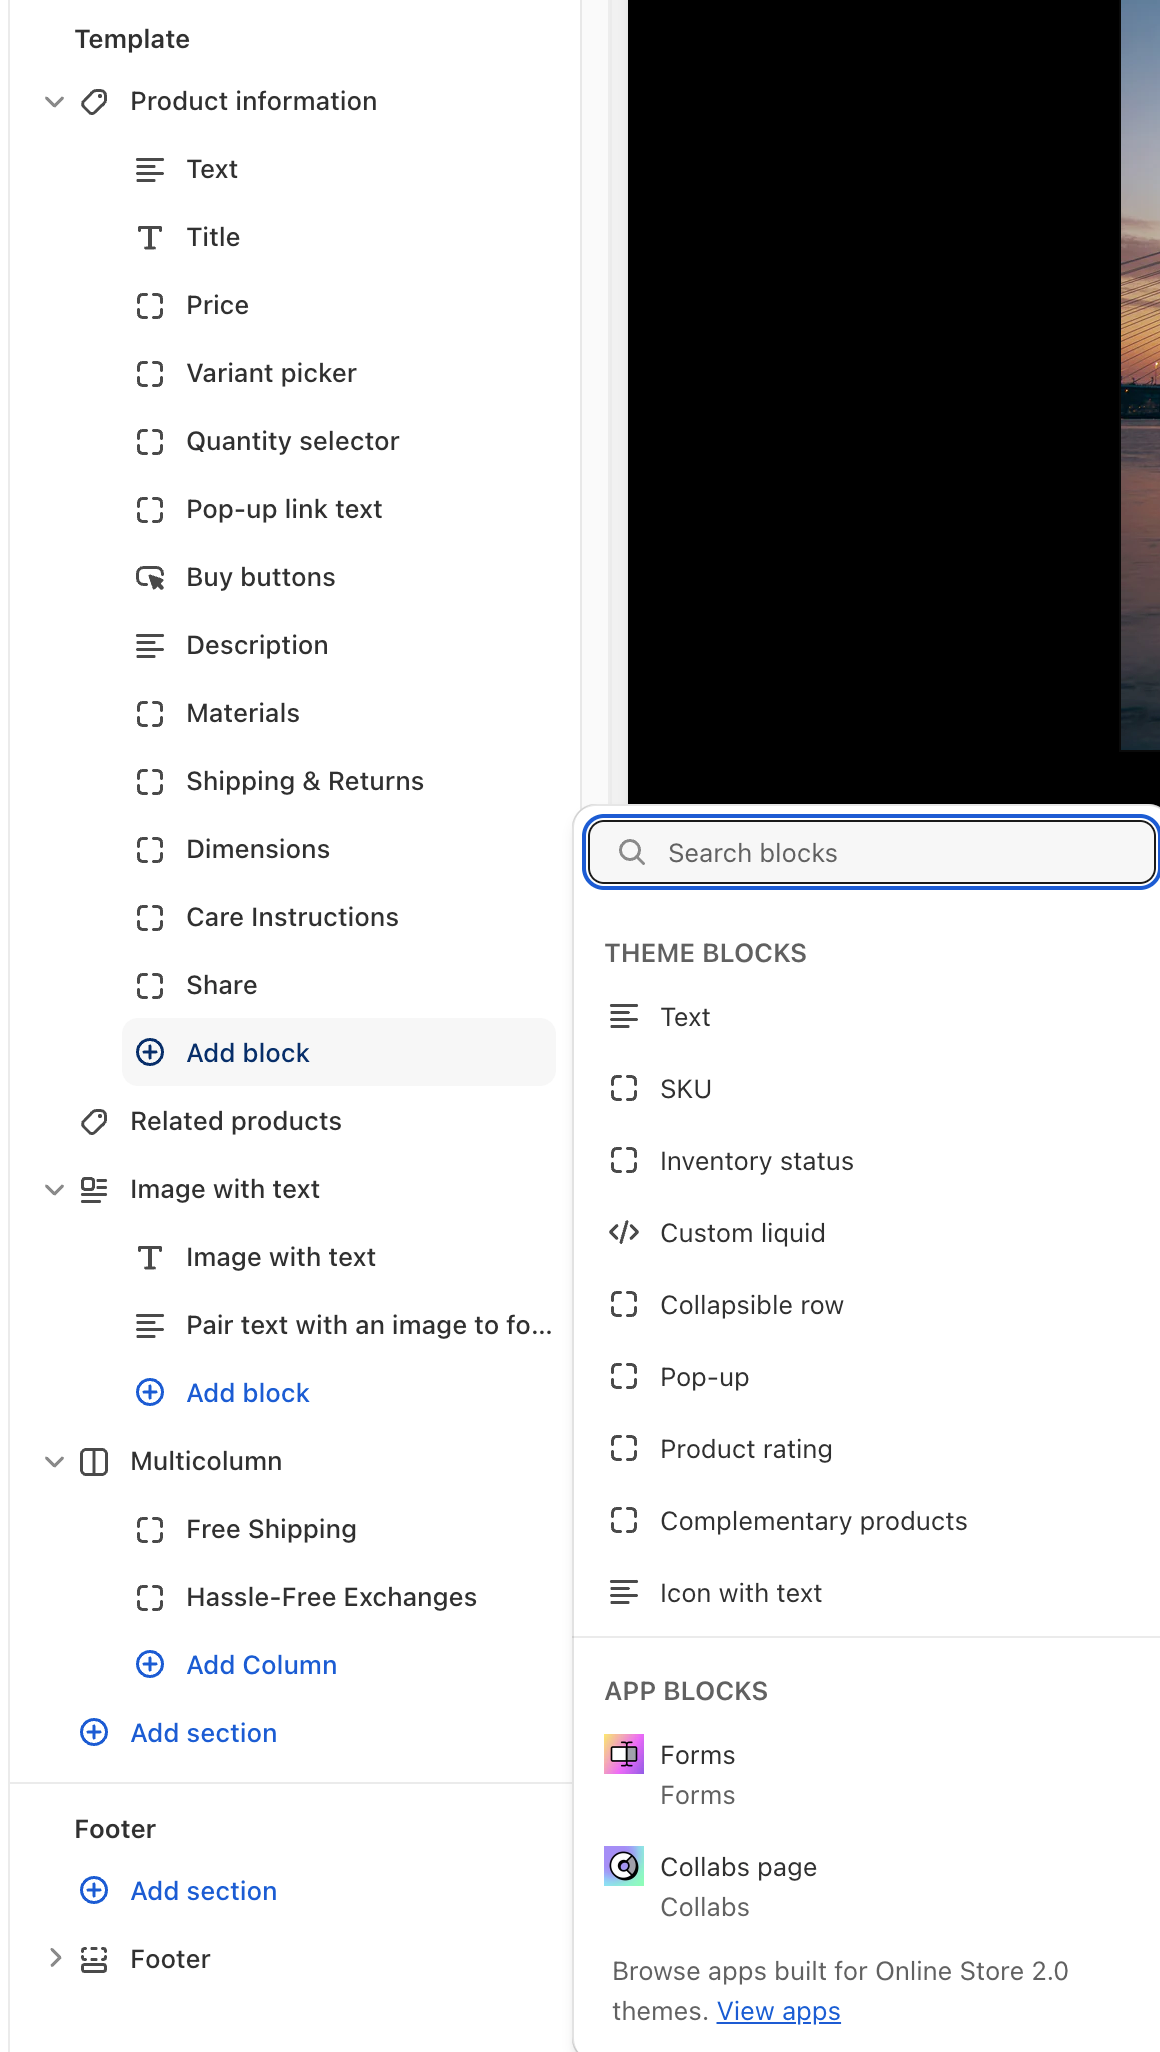
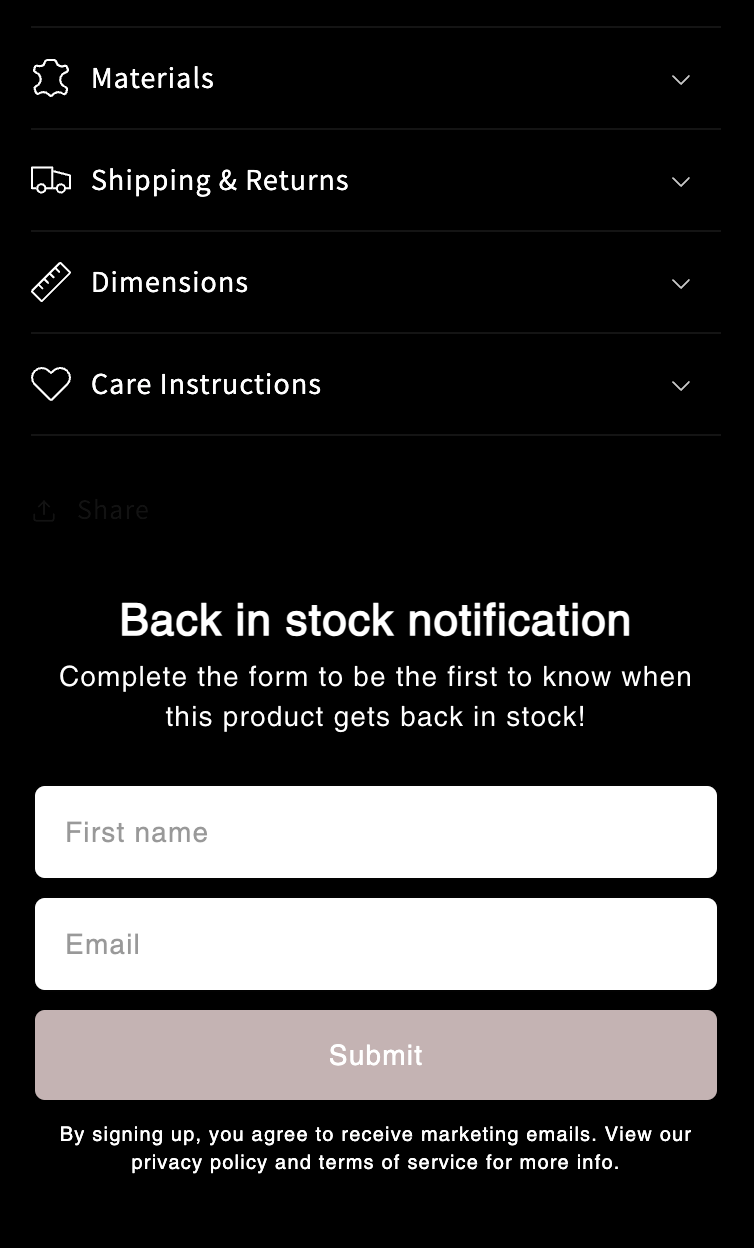
As soon as you've added this block you will see nothing showing up. This is actually something we want!
Select the 'Forms' block and you will see a new set of options showing up. The most important one is going to be the 'Form ID' all the way at the top of the option list. You can see that right below this input field is a note that says "Only active forms will appear." This is brilliant because it will not show anything when there is no form active.
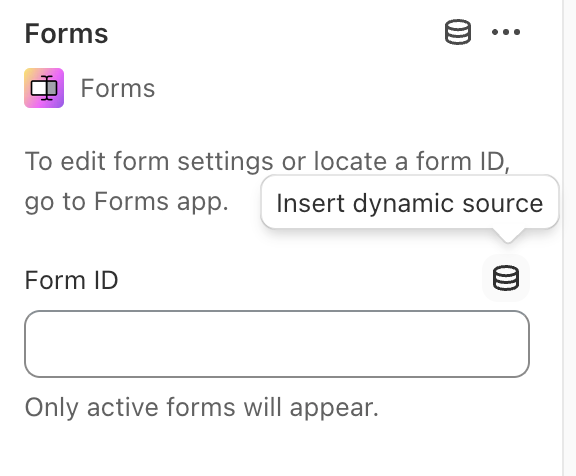
Now, we will click on the 'Insert dynamic source' button to select the metafield we have just created.
After clicking on the metafield safe the changes you have just made in your customiser. Nothing visually happened yet and that is the way we want it. After setting up the next part you will see the form we have created earlier just on the page we have linked it to.
✨Linking stuff together✨
The last step is to link stuff together. We will first go back to the form we have created in the first step of the tutorial.
Open the 'Forms' app, select the form you have created and scroll all the way down to the section with the 'Form ID'.
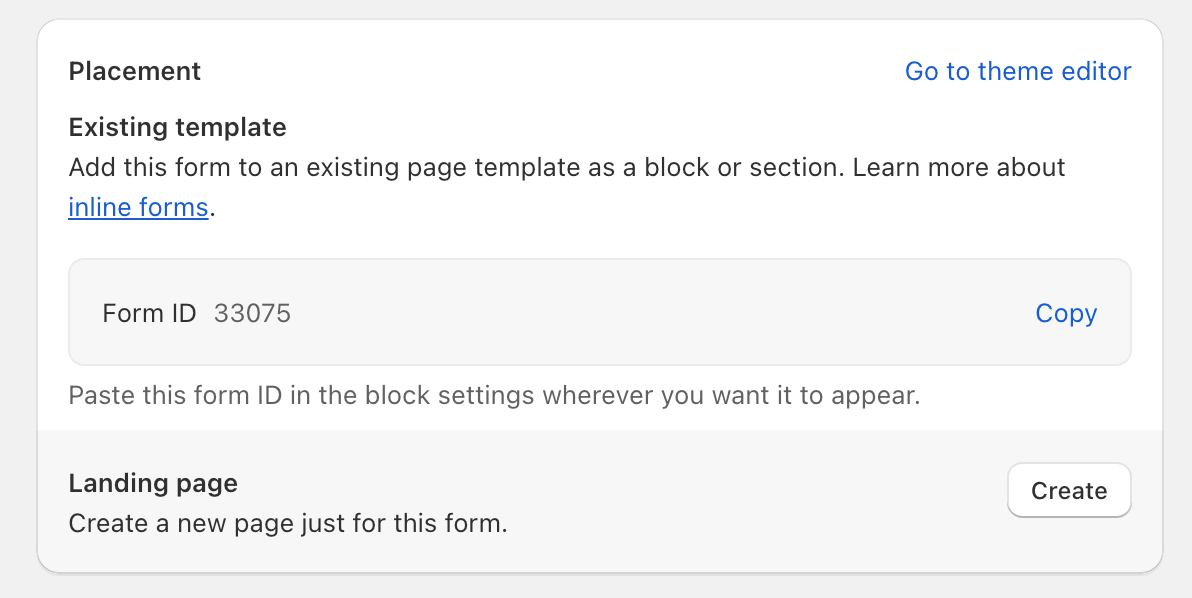
Click on the 'Copy' button. Next up lets go to our product list and select the product we would like this form to show on.
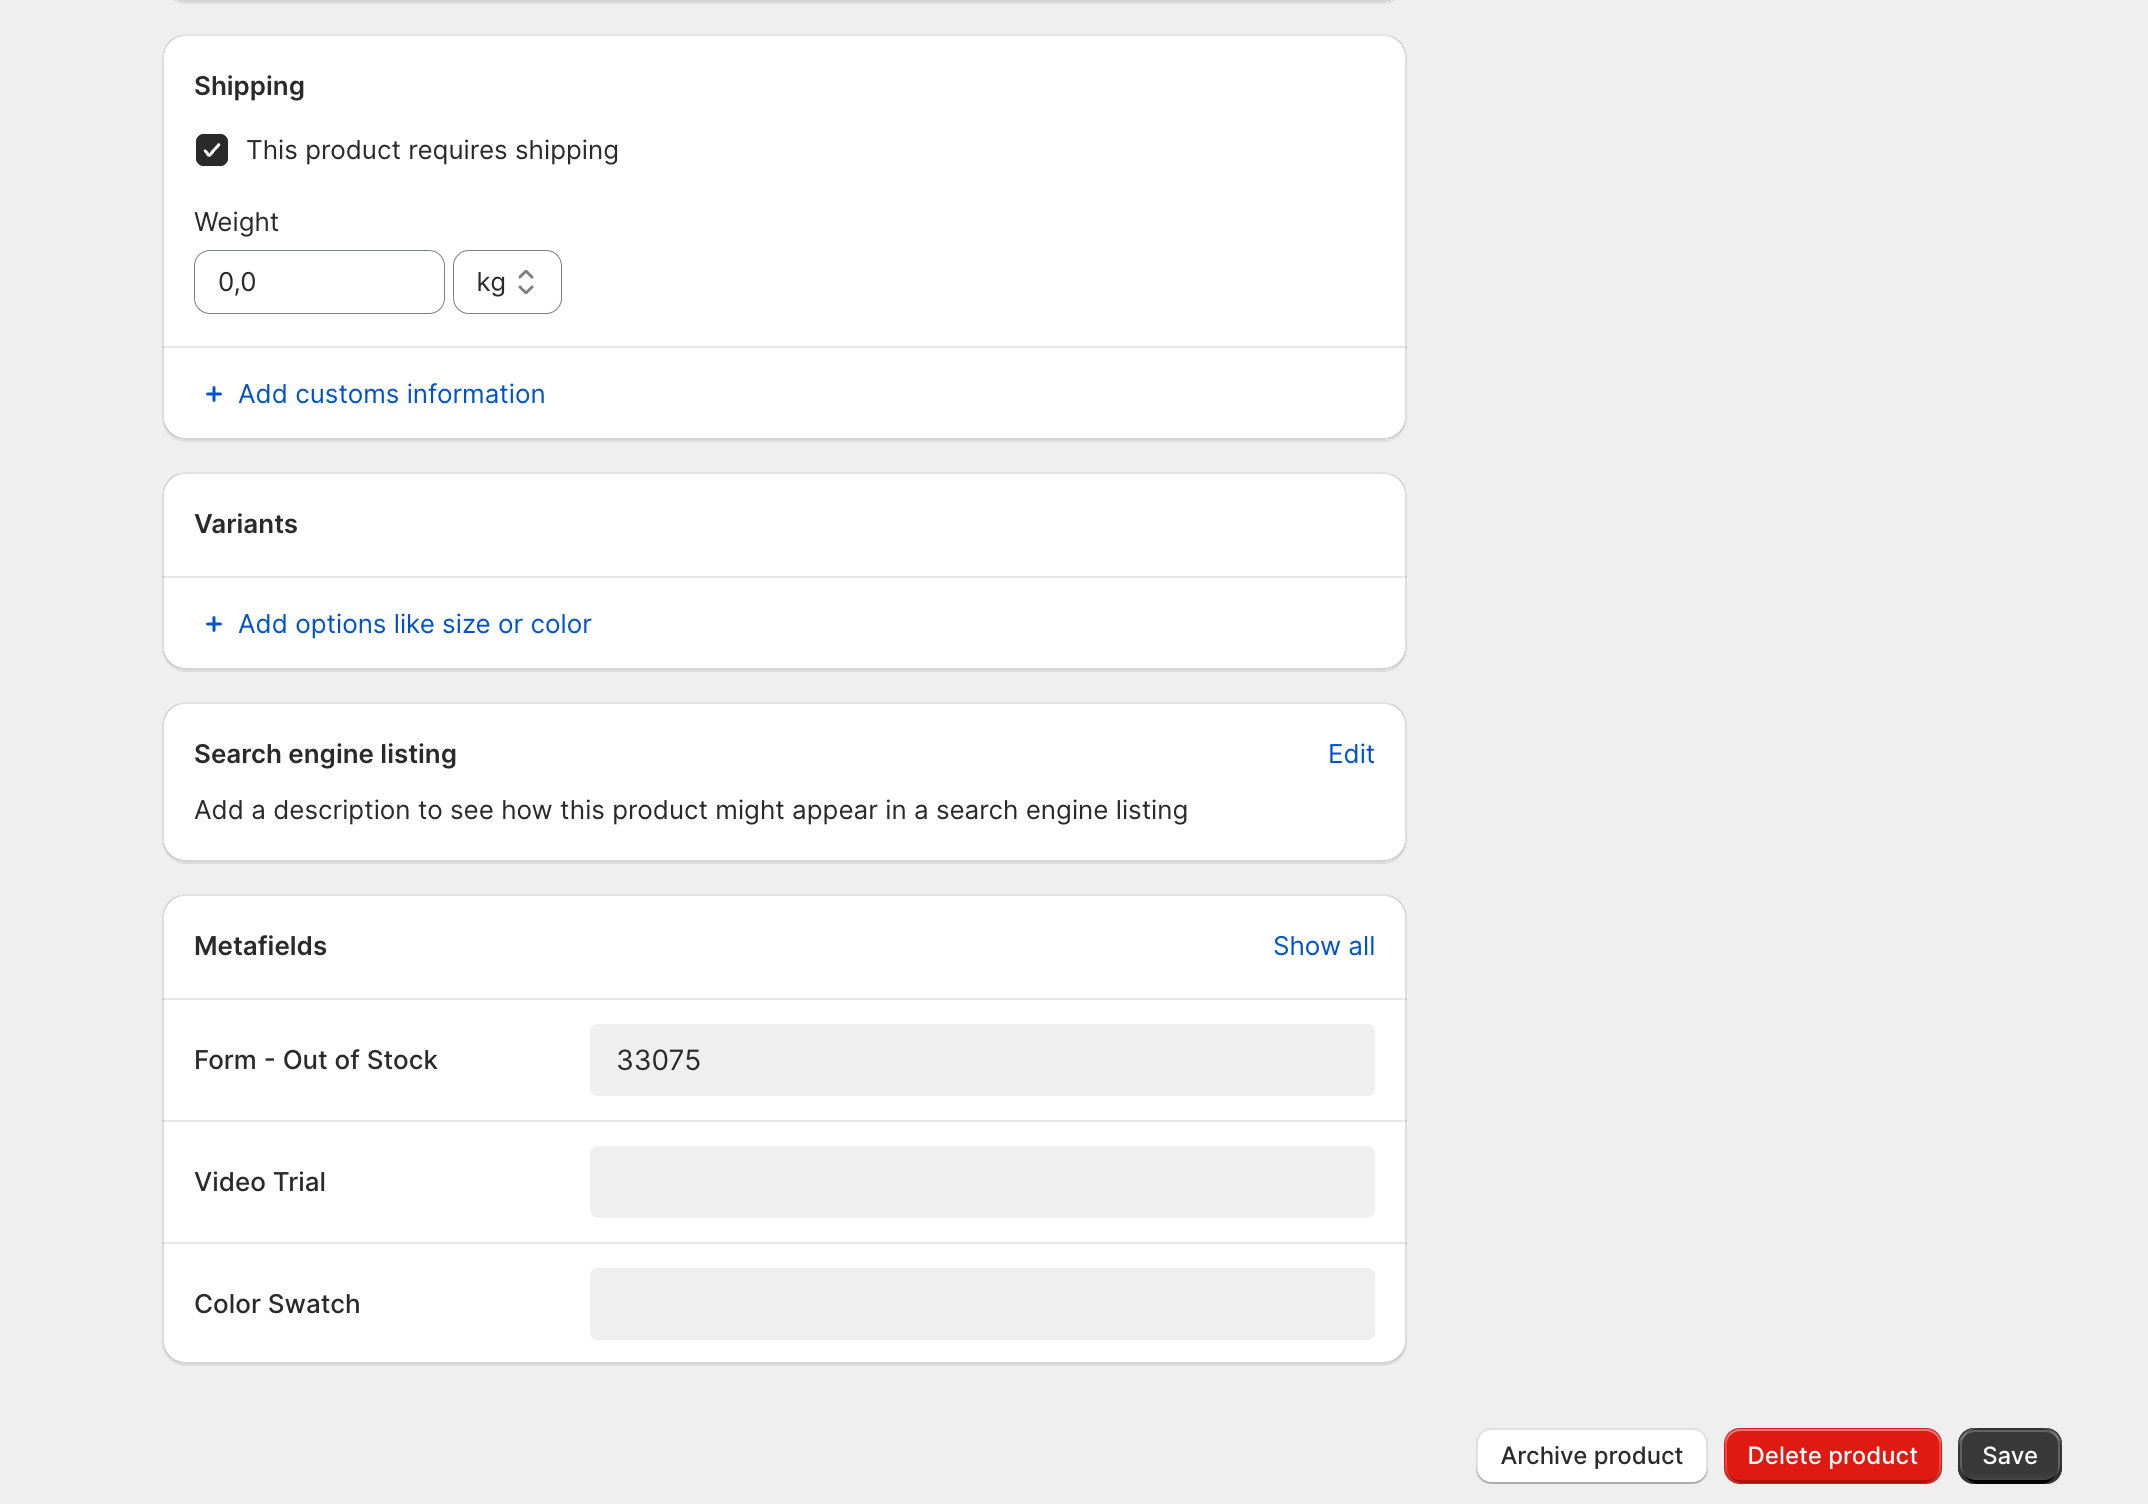
Scroll down to the metafields of this product and add the Form ID to the metafield. Do not forget to hit 'Save' as soon as you have filled this in. All that we have to do now is go to the product page and you will see the form showing up!
Tip: you can make sure that you have this form running 24/7 and just have it shown up with a custom product template. Simply change the product template to the 'out of stock' template when the product is not available at the moment.
Send that marketing email
To all those eagerly awaiting people
The moment is there, and the product is finally back on stock! Now of course you would like to send an email to all those people eagerly awaiting your new stock!
Send it to the right people
After we have saved all these customer in our customer database, we are able to segment the customers to make sure we send an email just to them!
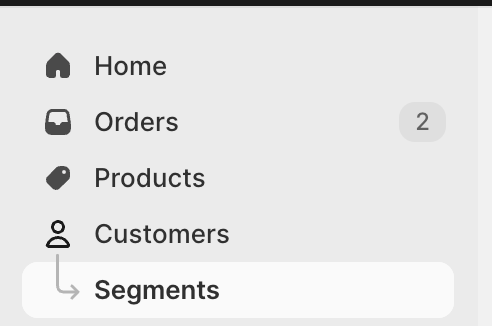
Let's go to the 'Customers' tab and then click on 'Segments'.
In the top right corner there is a button 'Create segment' you can click on that which will lead to to this page.

We will work with the super cool editor that is available for us. Shopify has made it incredibly easy to make super specific segments of customers. If you would like some more explanation on how to segment in a very detailed way, let me know!
Lets create our segment! The search query that we will use is the following. For now I have made quite an easy one. But you can of course make them as complicated as you would like.
customer_tags CONTAINS 'OoS Notification YDT001' As you have probably seen you can go super crazy with dates, already purchased or not purchased products. But for now this is what our segment looks like. We will save this as "Back in stock YDT001".
Send a marketing email
In order to send a free marketing email based on the segment you have just created we will use the Shopify Email app.
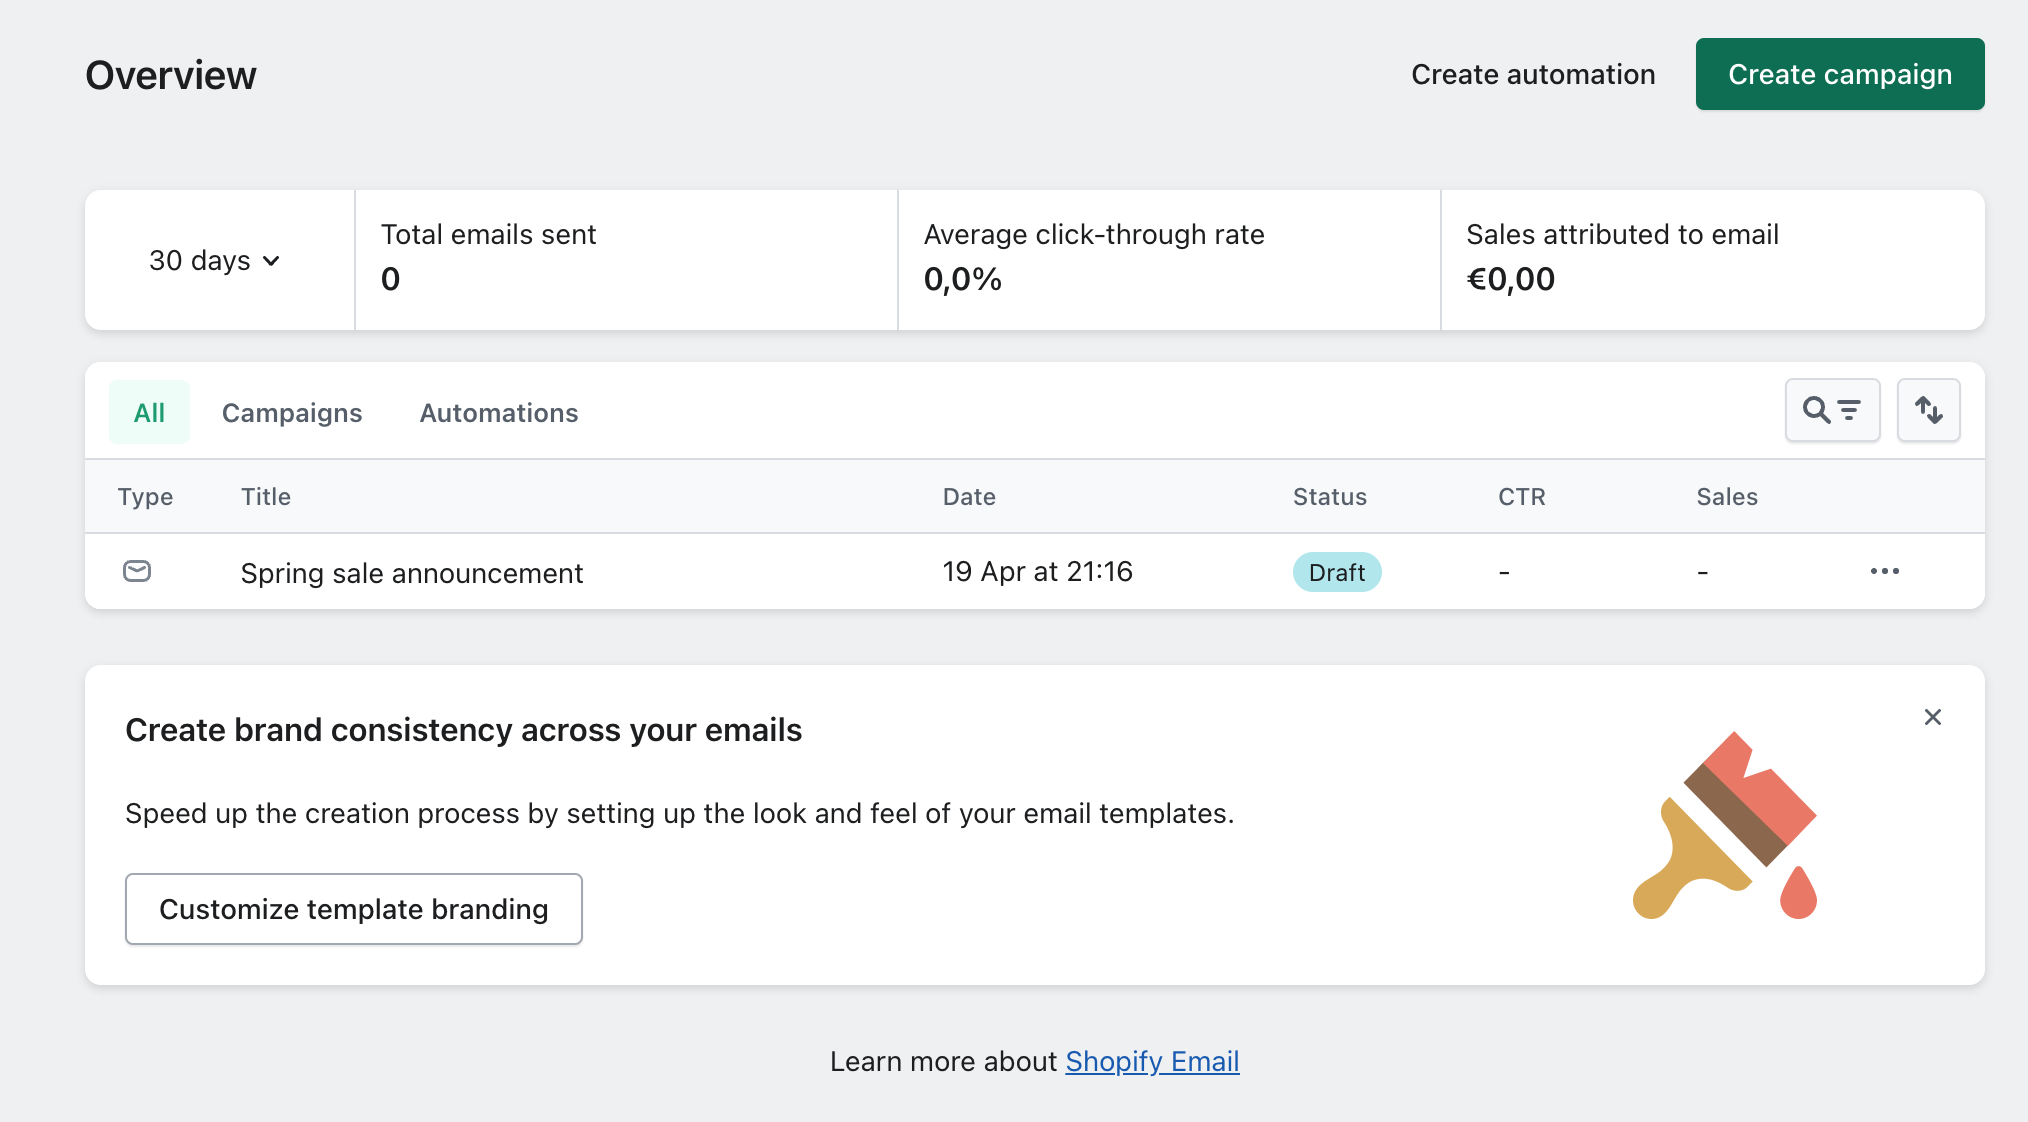
When opening the app, we are going to click 'Create campaign' in the top right corner.
Next up you can select the email template you want to use or make one yourself. For this tutorial we will go with a simple design. You can experiment all you want with this. There is even a "Back in stock" template already which will be perfect for our use-case!
Select the "To" option at the top and search for the segment that we have just created. Write a subject and select the product you want to highlight and you're good to go! You're even able to use the first name of all the customers that have signed up in the subject line to make sure that the email feels very special and personalised to them

You can now go to the top right corner, review your email and either send it straight away, or maybe plan it right before you put that product back on stock.
🎉 Congrats you have now send a free back in stock notification for a single product with 100% free Shopify apps!