
How to build a static website - Part 4 | Hosting

Wow! You're quite far in getting your first static website live. Congrats on making it this far 🎉!
We're going to setup our hosting, and I have to be completly honest, at the time of writing this article, I have tried this option less than 24 hours ago myself for the first time. However, its so freaking awesome I wanted to share it with you!
For this we need a couple of things.
- A GitHub account
- A DigitalOcean account
- A domain, this is not really needed, but it is cool to have your own URL (see how to in the previous chapter)
GitHub
First off, lets make sure we prepair everything we need. I would recommend you to create a GitHub account if you have not yet done that. Go to github.com and click on the "Sign up" button at the top right.

Their sign up page is a feast for your eyes, so the process will be super simple.
After that, I would recommend you to download GitHub Desktop. The installation also is pretty simple and standard so after a couple of seconds/minutes you should have installed the programm. You can login with the account you have just created.
Next we're goint to make a new Repository otherwise called "Repo". This is your environment for your code. GitHub Repositories are super advanced and I would like to encourage you to read into how to properly use it. For now we're going to keep it very simple.
First, click the button "Create new repository..." . You will be able to choose a name, set a description, a local path and some rights.
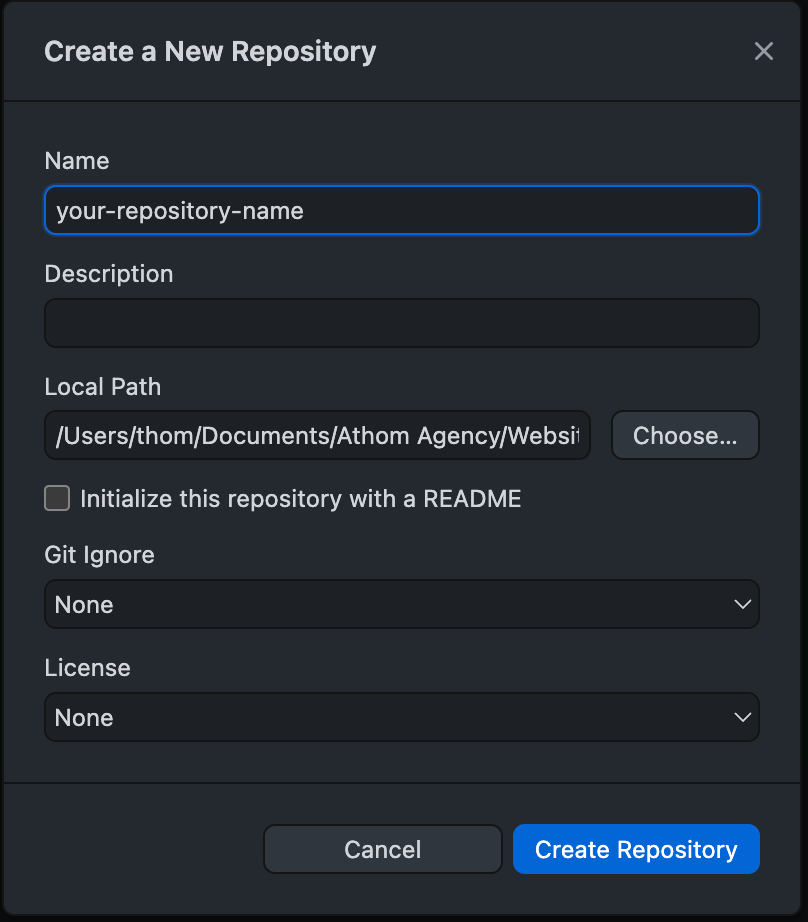
Please pay attention to your local path, make sure you set your local path as the location you have just saved all your HTML and CSS files. This is super important. If you can not do that, then you can just copy all the files into this folder later. You can figure this out yourself as I of course am not familliar with your computer. Do note you might have to switch some files here and there. When you place your files into the GitHub folder, make sure you put all the files at the root of this folder so not in /foldername but all in /.
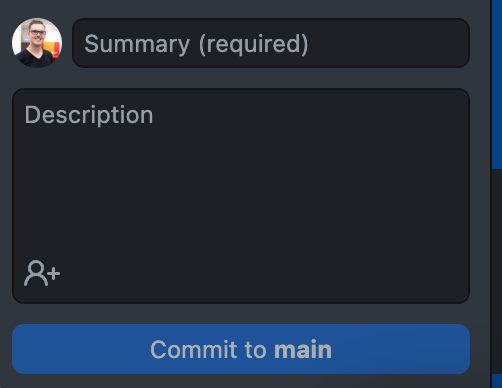
After you've done this, go to the Changes tab and click on "Comit" hereby you'll publish your code to the main branch of your repository. When you publish the first version, make sure your code is set to a private license. You're now done with the GitHub part of this setup.
A DigitalOcean account
First off, click the link right here, to create your account. Good thing you have just setup a GitHub account, because you can use it to quickly sign-up and login.
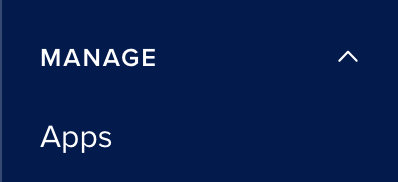
After walking though the setup, you will have 200$ you can spend on testing in the next 60 days for free if you click on this link above. After that we are going to go to the project that has just been created for us. Click in the sidebar on "Apps"
Then in the top right corner click on "Create app". Select GitHub as service provider and select the repository you have created at the beginning of today's tutorial. The next settings should be automatticly set and are oke to use. And yes, make sure "Autodeploy" is turned on. Next select your plan, this should be the free plan. You can continue to the next pages and on part 3 of the setup you can set your own app name. This is just so you can recognize this more easily yourself.
After that you can click on "review" and launch your app. The DigitalOcean platform will perform its magic and within a couple of seconds/minutes your website will be live! This will however be on a little bit of a weird URL as we have not connected our domain to our hosting platform yet. This however is something we will walk though in the next chapter. You can already go to this weird link, even share it and use it as your domain if you have not bought a domain yet or do not want to at all.
Congrats!
After all the steps you should have a website that is fully available to the world. Next chapter we will walk though the final things to make the website available on the right URL, but for now the testing URL works perfectly fine.
Thanks for reading and see you soon!