
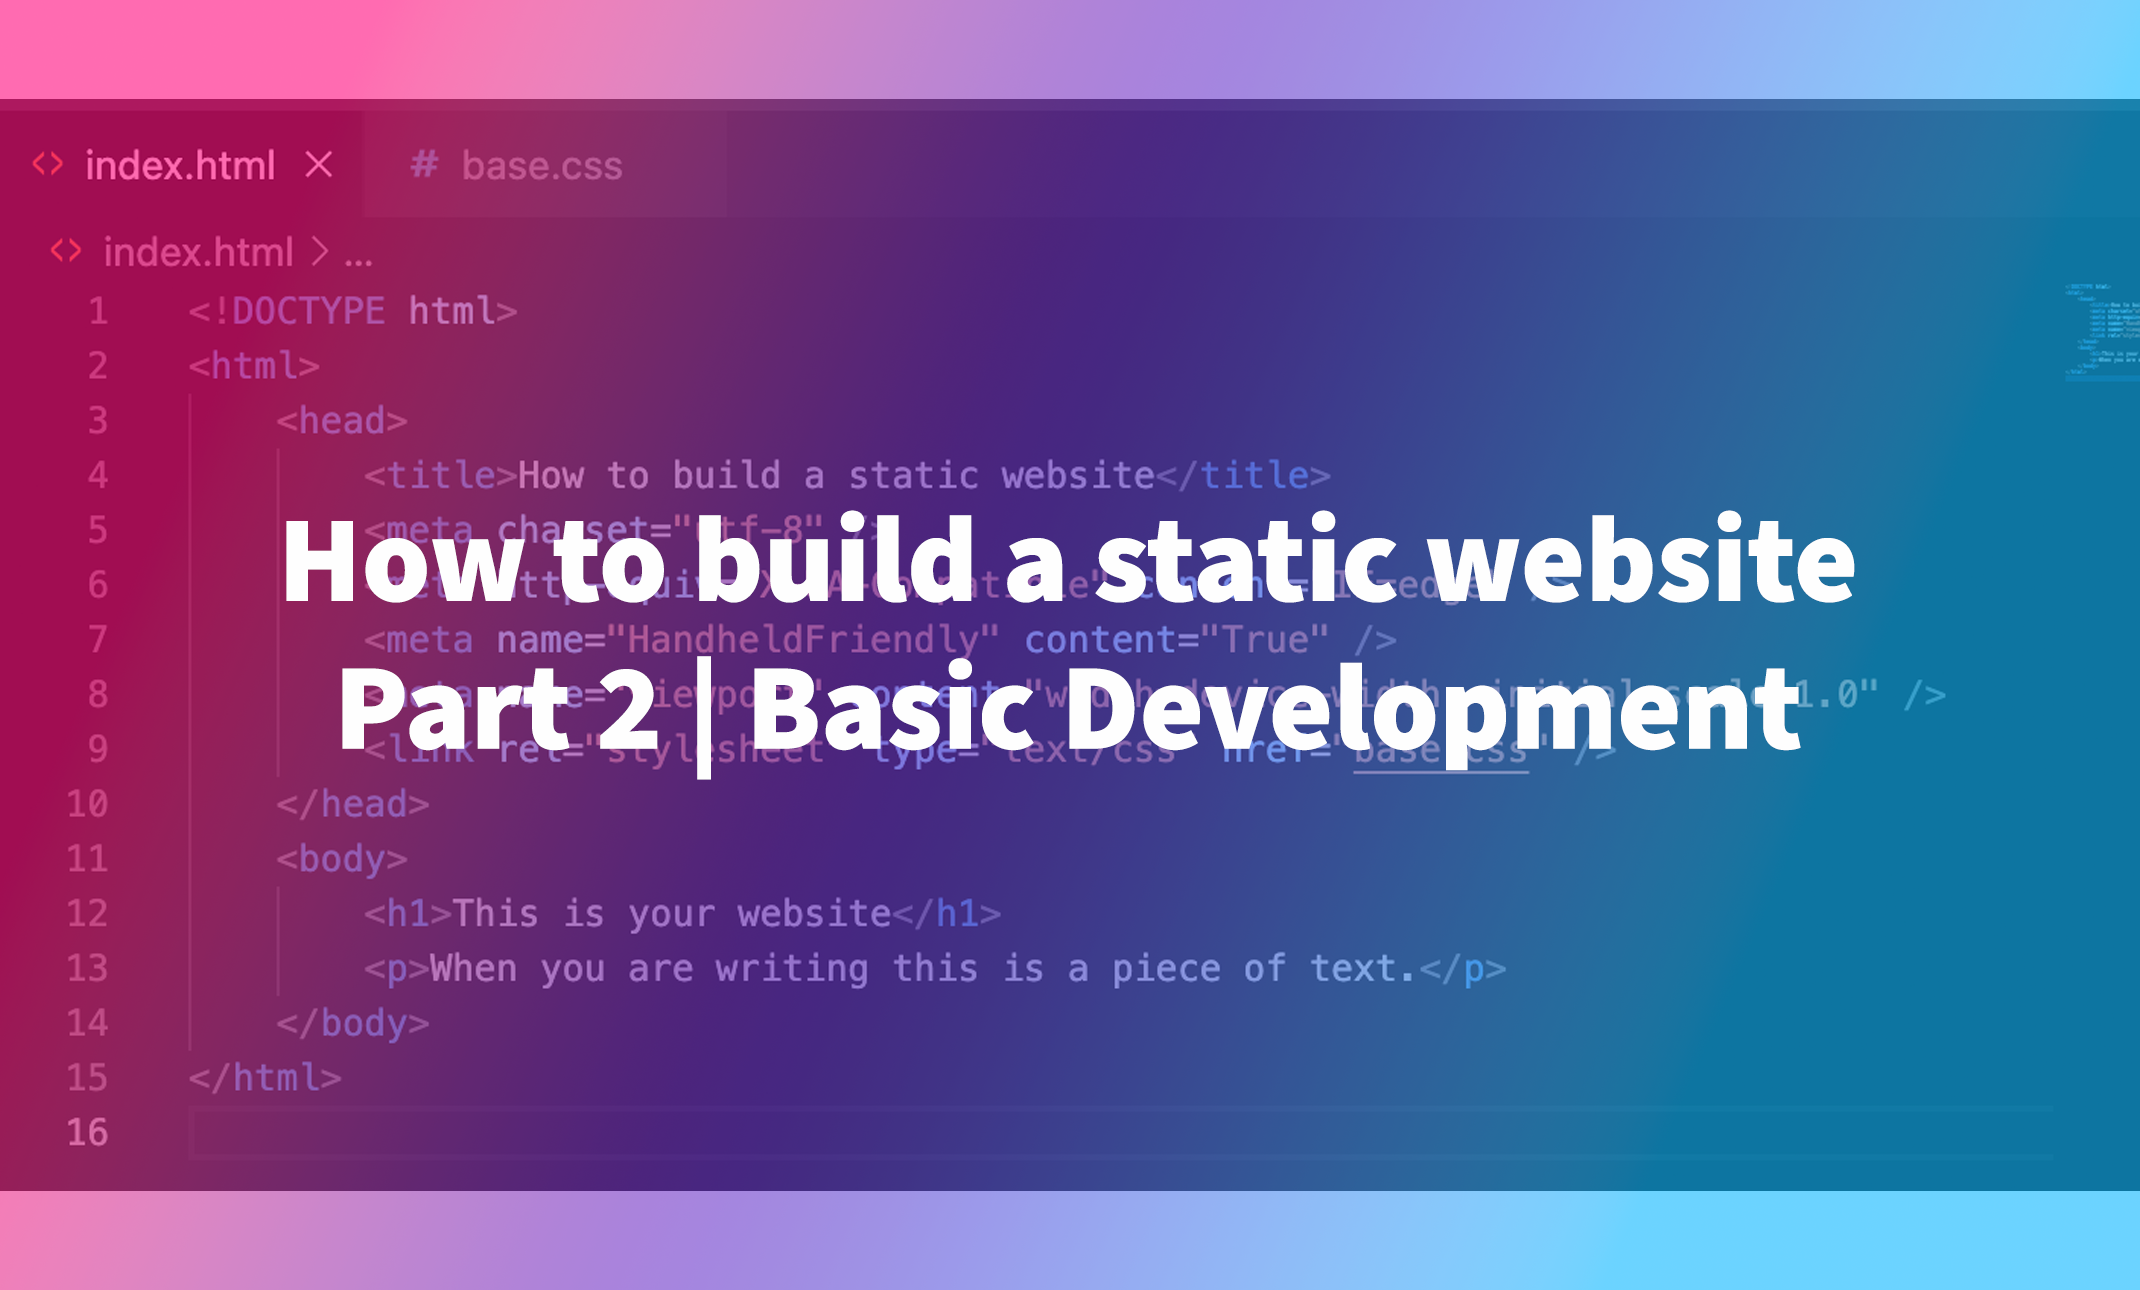
How to build a static website - Part 2 | Basic Development

Lets begin at the beginning.
What do we need?
First of all we need a program that will help us write our code. I personally love using "VS Code" from Microsoft. You can download your copy right here. For now thats all the programs we need. When installing Visual Studio Code it speaks to itself.
After installing VS Code, you can open up the program and click on "Open" to open a folder. This will open your file explorer/finder to select a folder you want to put your code in.
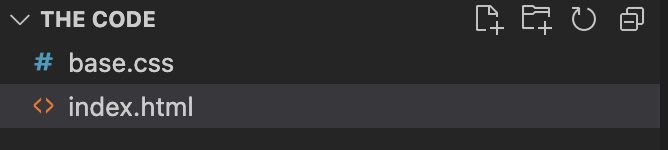
I would advise you to create a folder just for this project. Once you have done that, create two files with the names index.html and base.css. These files will be the backbone of your page.
We are goint to start with the HTML file. This file is what tells your browser the way it should display data and what type of data the browser is working with.
The structure of the HTML
Your HTML files are always structured in the exact same way. It starts with telling your browser that its working with an HTML document. The first line of this file therefore always is:
<!DOCTYPE html>After telling your browser its working with an HTML file, the document is build up from two parts, both these parts are within an HTML tag. We are talking about the 'head' and the 'body'. In the 'head of the HTML, the technical data will be stored.h
This is the place your browser will find all the info it needs like for example the title of the page, the description for Google, the links to your styling, scripts and all the other technical things your browser or any other software might need to know. the 'body' is the part of the document where you place your text, content and images that are actually interesting for the user, not everything is always visable for the user but this is the part that makes up the actual data of your website. After adding both these parts your code will look something like this.
<!DOCTYPE html>
<html>
    <head> <!-- the place where the tech info goes--> </head>
    <body> <!-- the place where the content info goes--> </body>
</html>
You've successfully created your first HTML document, but as soon as you double click on it and it shows in your favorite browser, there is nothing there... What happened? Well that's really easy, the browser has enough info to see it as a HTML document, but not to show anything yet. Let's start by putting in some data like the title and some text you can see on the page.
<title>Your very site!</title>

<p>Hello world!</p>
The tags above are what will make these two things, the title and the text. But, where do we put them? Its quite simple, we just talked about the head and the body, the technical stuff goes into the head and the other parts go into the body. Your code will look like this.
<!DOCTYPE html>
<html>
    <head>
        <!-- the place where the tech info goes-->
    	<title>Your very site!</title>
    </head>
    <body>
        <!-- the place where the content info goes-->
    	<p>Hello world!</p>
    </body>
</html>
Oh, you are probably now also wondering, what are those other two tags you have not mentioned?
<!--This is actually a comment, you as a programmer can read, but the browser will skip to use this in the actual rendering.-->I guess that explains it pretty well 😉.
Now we have set the basics of the HTML we will continue with the CSS. In this short tutorial we are not going to cover everything of building a fully functional website yet. More things like structures, design and much much more will be in future tutorials. Right now we will focus on "getting the starting package live". Send us a tweet on Twitter @YourDaily_Tech or DM us on Instagram @YourDaily_Tech to send in request on what types of website we should focus on creating in the next series.
The CSS
The first thing we are going to do is do a basic reset on our CSS. But wait, we have not written anything, what do you mean "reset"? Unfortunatly for us developers, not all browsers work the same and some load in their CSS before ours. We are simply telling the browser: "mate we are a bit smarter than you, we will do the rest ourselfs, thanks".
*{
    margin: 0;
    padding: 0;
}
Quick explanation. There are a ton of ways to select the HTML you want to target with your CSS. The code you see above is the simply explained select everything, all HTML tags, on your page are selected. We give them a margin (everyging outside the box) and a padding (everything within the box) of zero pixels.
Some HTML elements have default margin and padding so we want to make sure that we set that to 0 first.
Next we will give the website a background color of #363636 this is the HEX code for dark grey, trust me it will look cool. To make sure the text is readable we need to change the text color as well to #ffffff, this is the HEX code for white. By default your browser will load in the website with a white background and black text.
Since we want to apply these styles to our entire page we are goint to target the body tag, remember, the tag that contains all the content.
*{
    margin: 0;
    padding: 0;
}
body{
    background-color: #363636;
    color: #ffffff;
}
We're going to be introducing a new word, the property is the type of style you want to apply and the value is the data that will specify what that propery will have to do. I think that if you look at the code, you will see a patern forming. Its always selector { (opening curly bracket) propery: value; } (closing curly bracket). We are going to be writing A TON of these in the future, so be prepaired.
To finish of this first extremly basic website there is just one last thing to do and make the text look pretty. For that we are going to be using the font-family property.
*{
    margin: 0;
    padding: 0;
}
body{
    background-color: #363636;
    color: #ffffff;
    font-family: Montserrat, sans-serif;
}
Fonts are a little weird, they are always part of a so called "family" later I will explain more about this but for now, this code above will do the trick.
But wait! You're propably wondering when I try to open the HTML document with my browser I can not see any styling! Thats actually true. We have not yet linked our HTML file with our CSS file. For this the link tag is made in HTML.
<!DOCTYPE html>
<html>
    <head>
        <!-- the place where the tech info goes-->
    	<title>Your very site!</title>
        <link rel="stylesheet" type="text/css" href="base.css" />
    </head>
    <body>
        <!-- the place where the content info goes-->
    	<p>Hello world!</p>
    </body>
</html>
Oh snap, thats a lot if things happening in that one tag, isn't it? Lets walk though the tag. The link tag shows the HTML and the browser that at this moment the browser needs to load in an external file. Next we tell the browser what type this file is, in this instance its text/css and last we tell the browser the actual name of the file and "link" to the file. the href property is the link property in ALL HTML tags that either link to a file or another page. Just remember, every time you click on a link the href property is making it work!
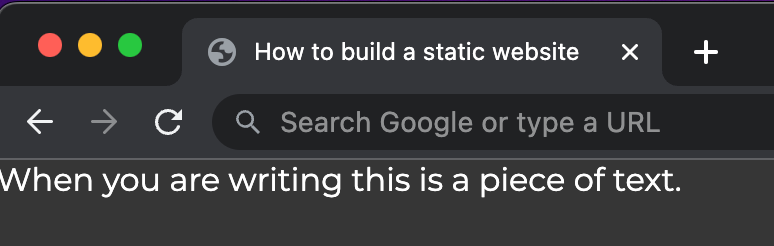
When you open your HTML file into a browser now (just double click on the file and on most systems it will automaticly open the browser), you will see your page you have created. Pretty cool right!
WHOOP WHOOP! You have created your very first webpage. In the next article we are going to make sure you can actually make sure the rest of the world will be able to see this page, stay tuned...