Connect your TransIP domain to Shopify

If you are new to everything that has to do with hostig, connecting a domain to a hosting service that is not with the same company as where you have bought your domain can sometimes be quite the challenge. However, it does come with a ton of very usefull options. In this article we will talk you though how to connect your Shopify to your domain bought at TransIP.
Shopify Domains
First off, I would not recommend you to use Shopify Domains. The reason for that is that, yes even though its quite handy to have everything in one platform, you get extremely limited in the use of your domain as you can not use all the email services you want, can't properly use subdomains etc.
TransIP
TransIP is a domain registar and hosting provider based in the Netherlands but operarting in the entire EU and even global if you'd like. They are very "tech savy" focused and have great support available. Now, do not let the "tech savy" scare you off as their UI is very friendly and does not push unnecessarily complicated things where not needed. Therefore I would recommend you to use them if you are based in the EU.
Lets start!
First off, I asume you already have build your own Shopify Store. If not and you want some help with it? No problem! Send us a message on any of our socials, or contact us via Athom.Agency and we will be able to help you further!
First go to the TransIP website, when you are on the TransIP website, you can either login and go to your dashboard where you can see your already purchased domains, or you can buy a new domain. When buying a domain, make sure you do not buy any hosting. Hosting is arranged by Shopify. If you want to have a main website and a subdomain store like store.yourcompany.com you can of course buy hosting at TransIP.
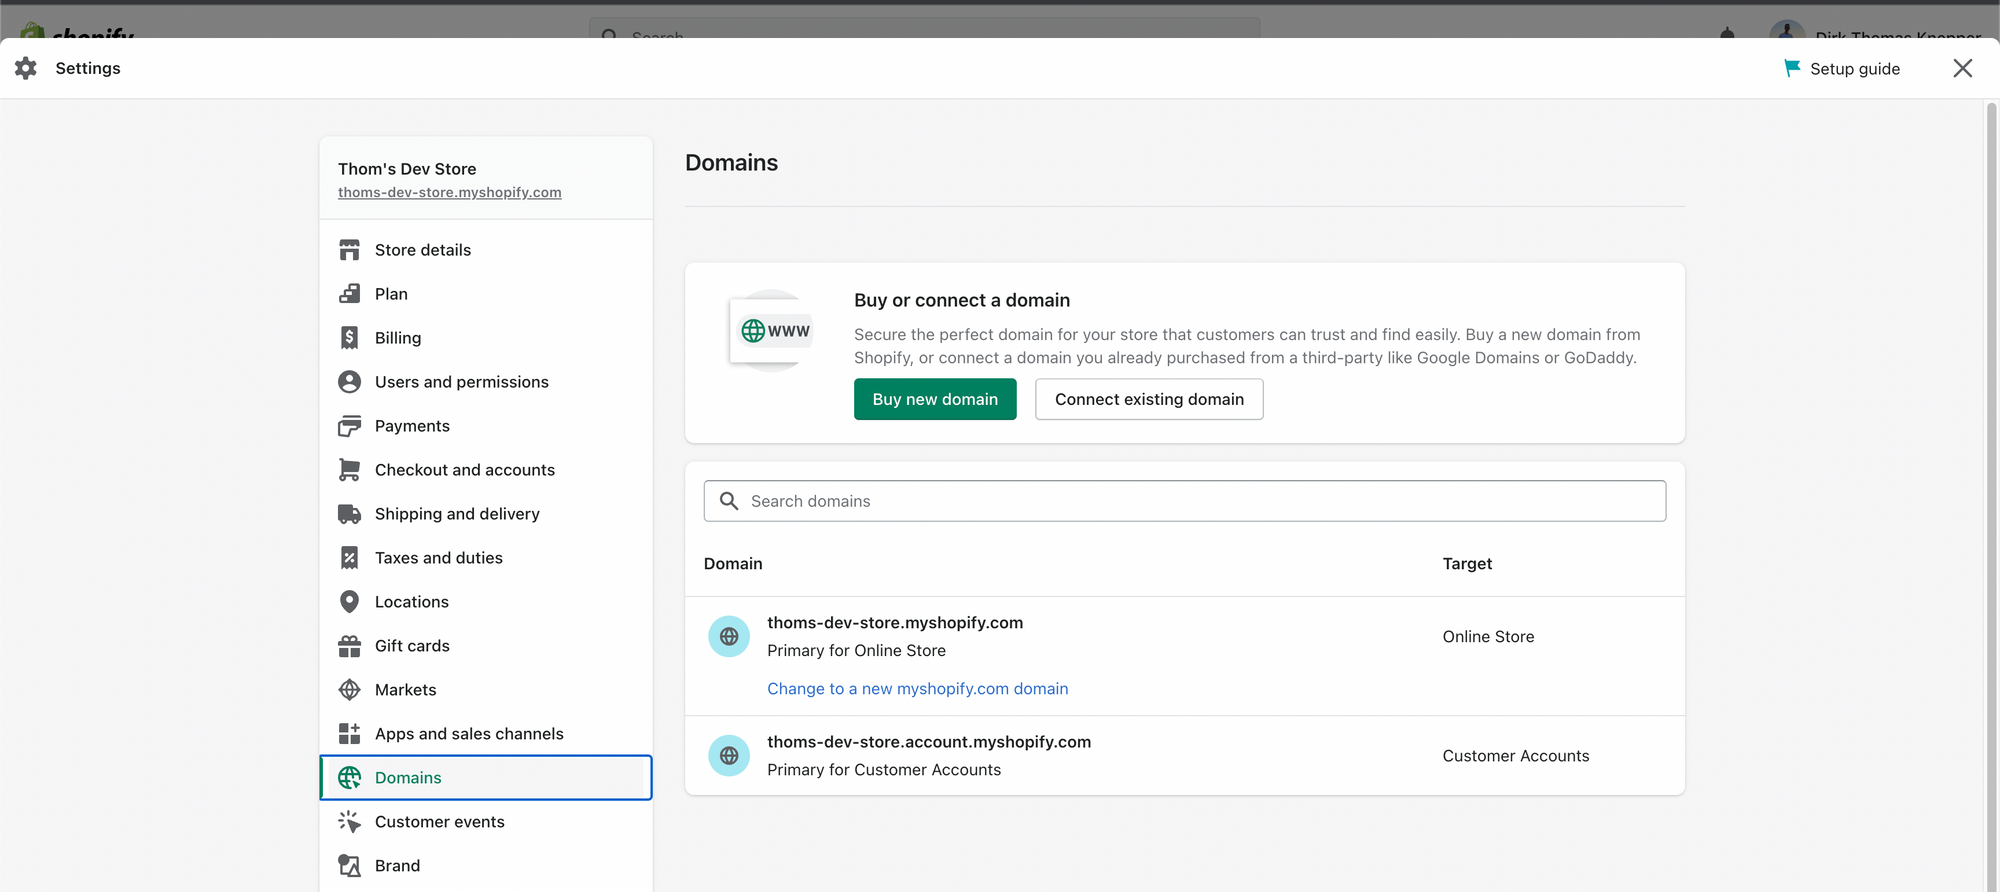
Next if you have your Shopify Store ready, go to Settings > Domains > Add exsisting domain. Type in the domain you just bought on TransIP. After that click on "Add".

Next go to the following page on the Shopify Documentation: https://help.shopify.com/en/manual/domains/add-a-domain/connecting-domains/connect-domain-manual. Here you will find the DNS setting you need to use on your TransIP settings. So next up, we will switch back to the TransIP tab and go to our TransIP dashboard. Navigate to your Domain & Hosting settings where you will have an overview of all the domains you have bought.
As soon as you are on your dashboard, go to your DNS settings and turn off the check "use transip settings". This will give you the ability to edit your DNS settings properly. Fill in the DNS settings like the Shopify documentation tells you to. Some of the DNS records may already exsist, do not worrry, simply override them with the Shopify settings. TransIP has a build in feature that will let you go back to the TransIP settings if you want to when you f*ck up 😉.
Quick note, I can not show any of my DNS settings as all my sites are in production. If you have questions, feel free to ask me!
After you have saved all your settings and fixed your errors (if TransIP trows them), you can go back to your Shopify site. and click on "Verify connection".
Shopify will now verify your connection. Please be aware that some DNS settings take up to 72 hours to update properly. This means that it can take up to 72 hours before you can use your domain on your Shopify website. DO NOT do this connection at the last moment in order to make sure your store can go live at the right time!
Thats it!
When everyhthing is connected and verified you can now use your domain on your Shopify store and the best thing is with the huge amount of settings you can still do on TransIP with editing DNS you can also use Office 365 for example for emailing and use subdomains for other purposes. With connecting a 3rd party domain manually via DNS you will have control over everything you do with your domain without being "locked in" into the restrictions Shopify unfortunalty has on this part of their platform.
I hope you enjoyed this tutorial, see you in the next one!
